Overview
Popups are popup activities stored on your PRZIO project. The same SDK that loads personalization can deliver popups for that project.
- Dashboard — Create and edit activities under Project → Popups; each activity has HTML (or A/B experiences),
urlConditions, optionalaudienceConditions, andpopupSettings. - Your website — One script tag with your project ID so the loader can fetch eligible activities and evaluate rules in the browser.
- Go-live — Set the activity status to activated after you have tested URL matching and triggers on a staging or production URL where the snippet is installed.
How popups render on the page
- The PRZIO SDK loads on your origin (typically before
</body>). - It determines the current page URL and loads popup configuration for your project.
- Each activated activity is checked against URL conditions (and optional audience rules).
- When a activity matches, its
popupSettingsdefine when the modal appears: page load, delay, exit intent, scroll depth, or presence of a DOM element. - The modal HTML is injected into the page; dismiss and frequency options (cookie/session, exit-intent cooldowns) apply per your settings.
Scope. Popups only run on domains where the SDK is installed. They cannot appear on third-party sites unless that site embeds your project snippet.
Prerequisites
- PRZIO account — Sign in and open (or create) a project.
- Project ID — Copy it from the project; it is required on the script tag.
- Access to your site’s HTML — Ability to add one script before
</body>(or tag manager equivalent). - Popup editor — Open Project → Popups and create or edit an activity (app route pattern
/popups/<activityId>).
In-app tutorial
Step-by-step UI walkthrough: Integration → Popup (replace the host with your deployment if different).
Complete tutorial (same as /integration/popup)
Mirrors the in-app Popup Integration · Complete Tutorial flow: conversion and exit-intent popups with triggers and targeting.
Table of contents:
- Create your first popup
- Configure popup settings & triggers
- Set up URL targeting
- Install PRZIO Popup SDK
- Initialize Popup SDK
- Test your popup integration
Dashboard screenshots (localhost)
1. Sign in to PRZIO on your machine.
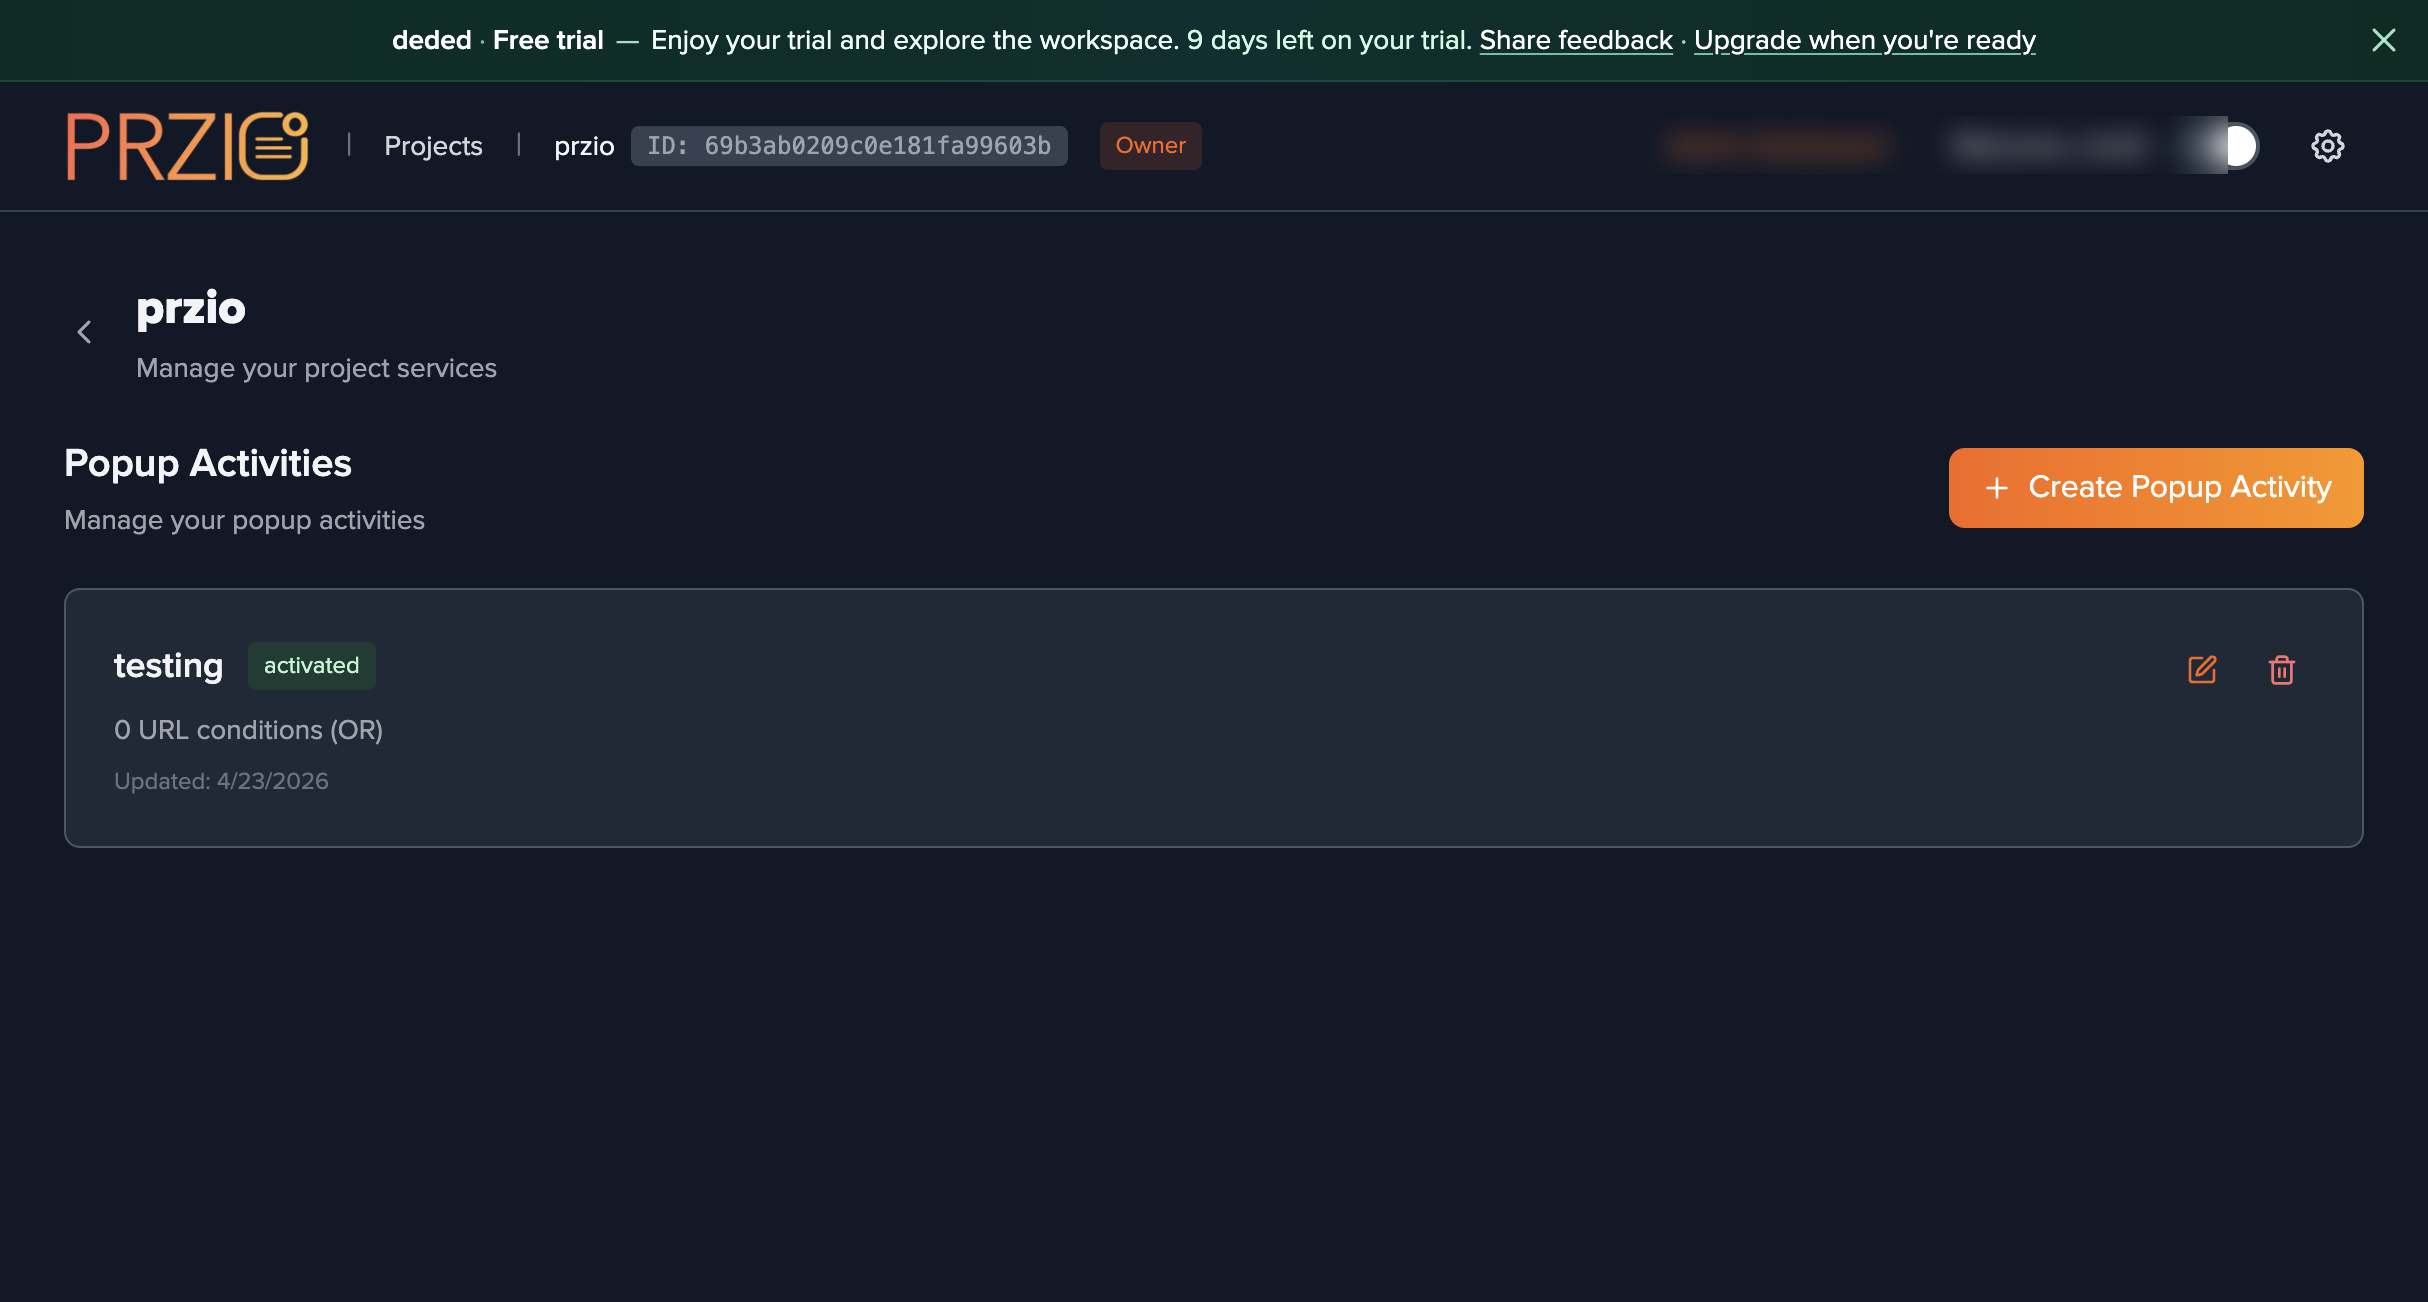
2. Open the popup list for your project (example project id shown — use yours if different):
http://localhost:3000/popups?projectId=69b3ab0209c0e181fa99603b
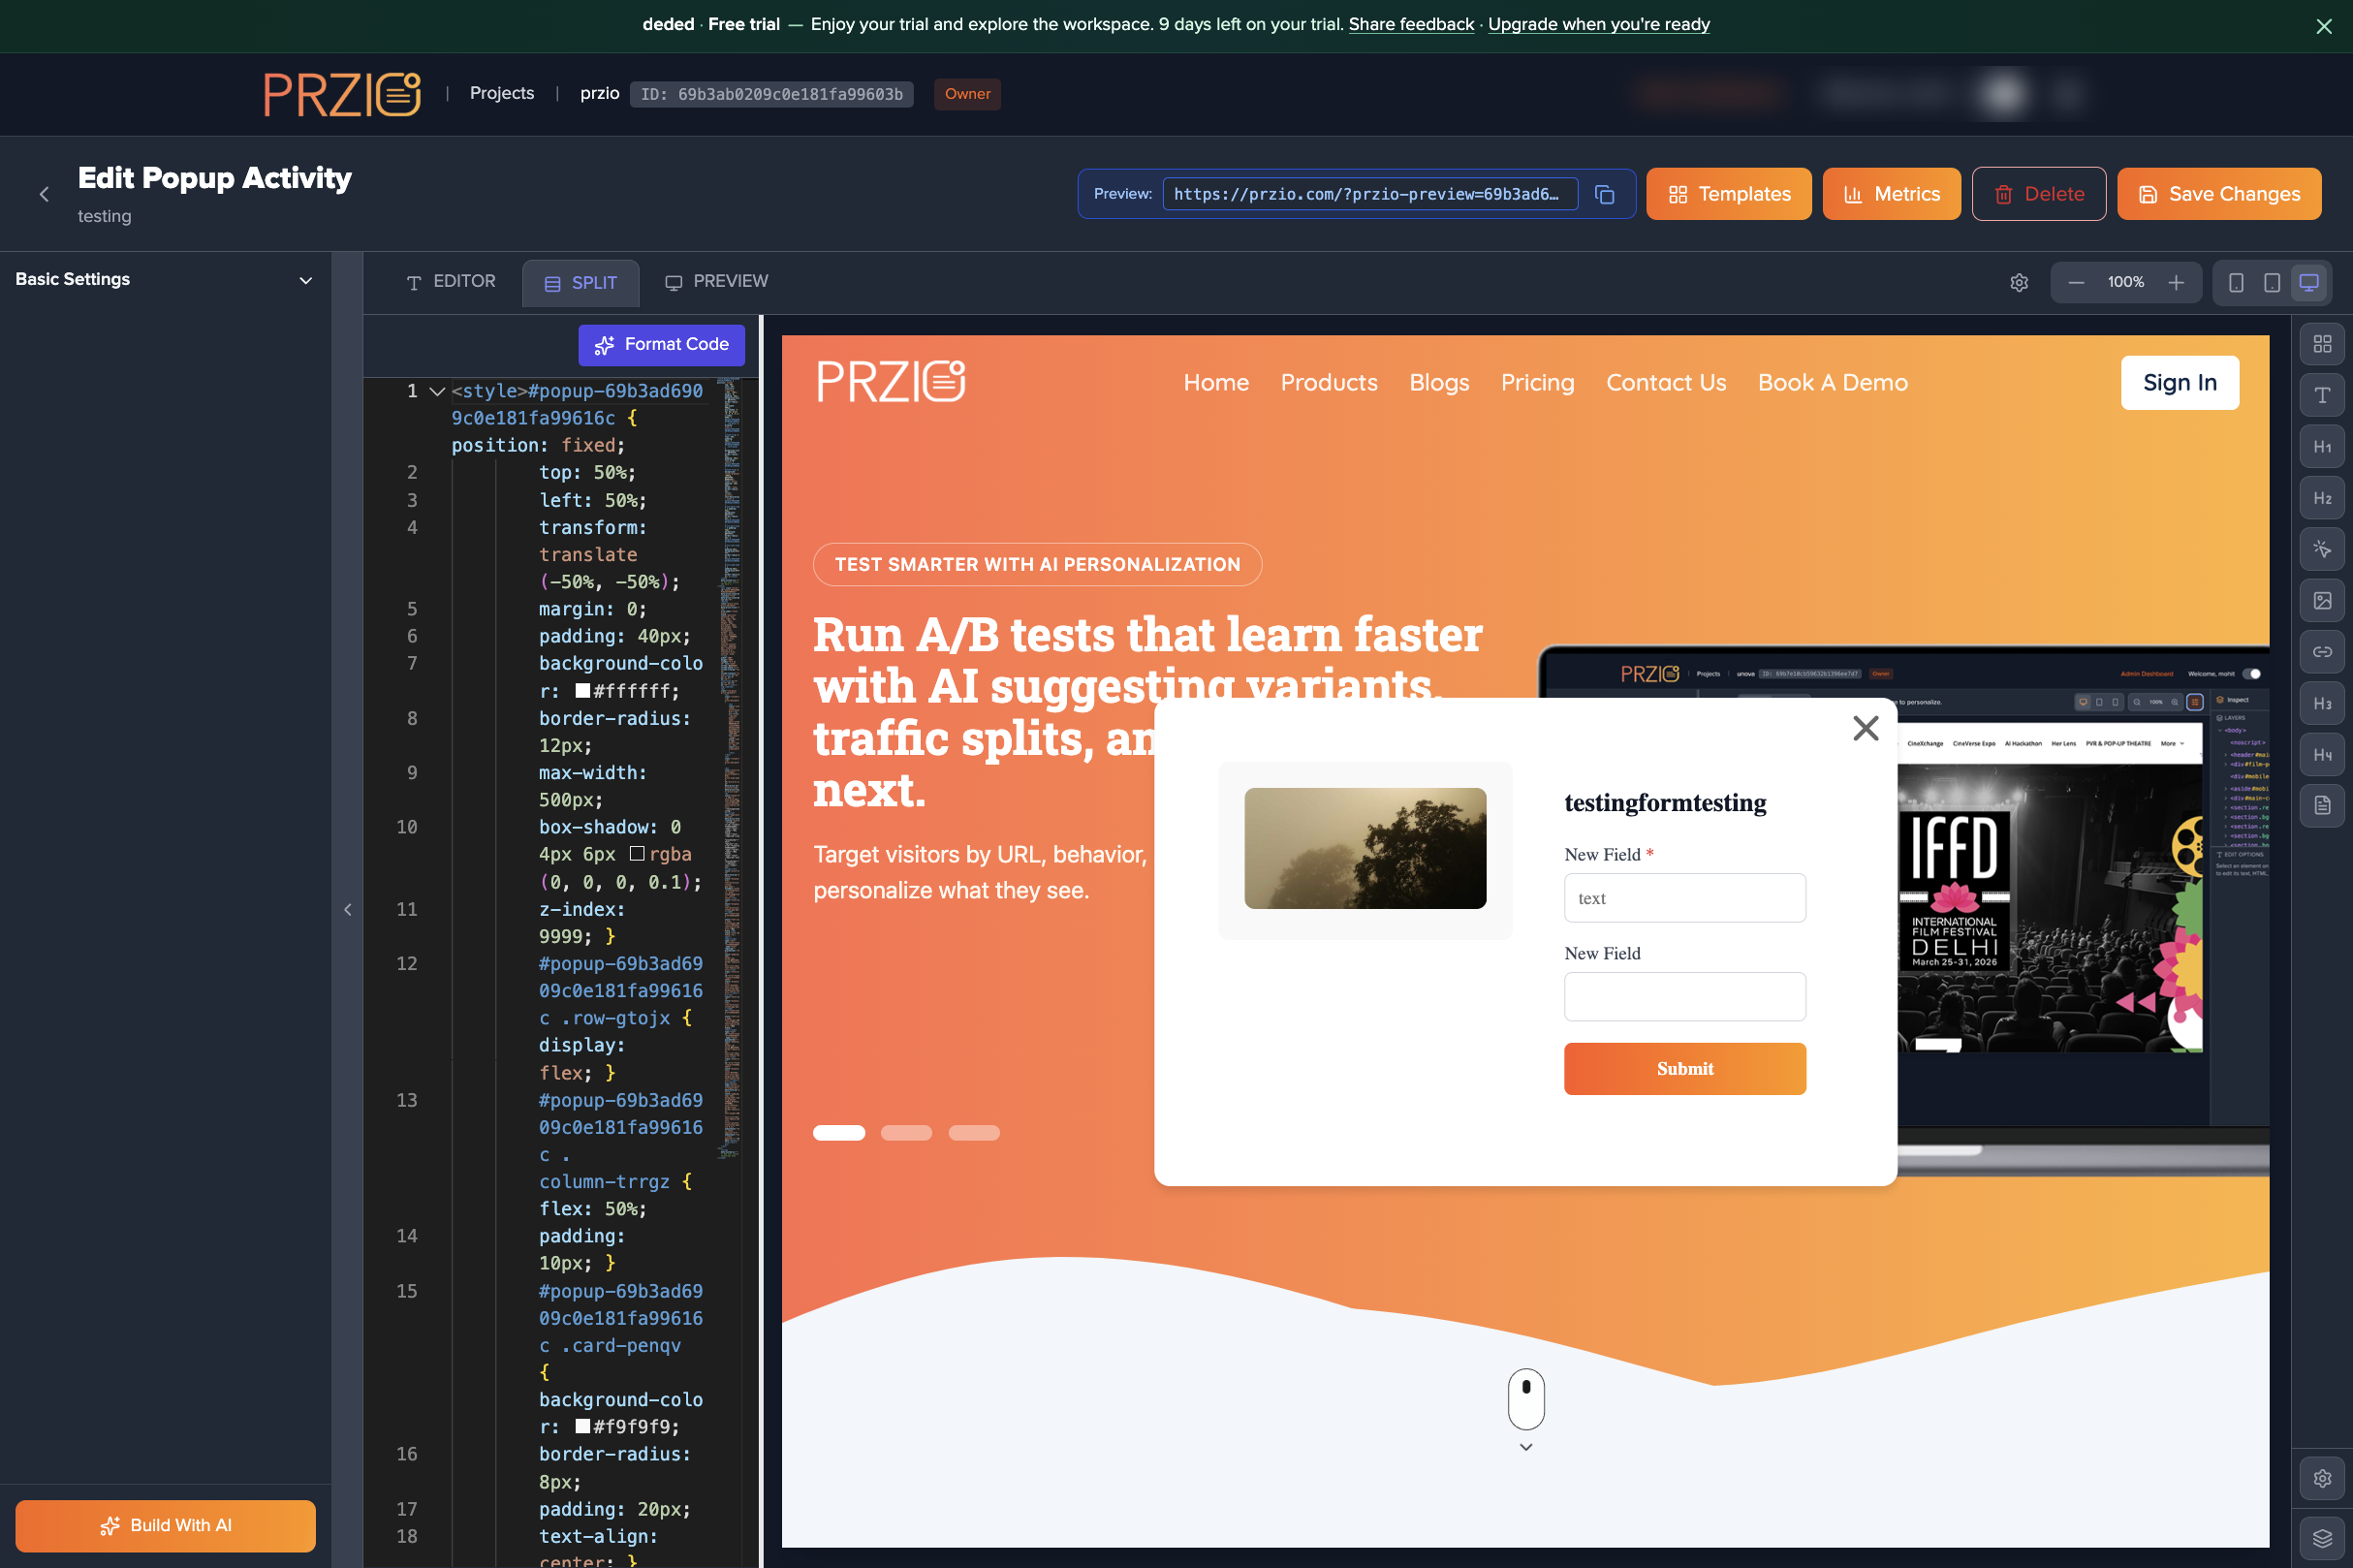
3. Choose an activity → Edit to capture the editor, trigger sidebar, and URL targeting. Save PNGs into documentation/images/popups/ using the filenames in each caption below (replace the placeholder graphic).
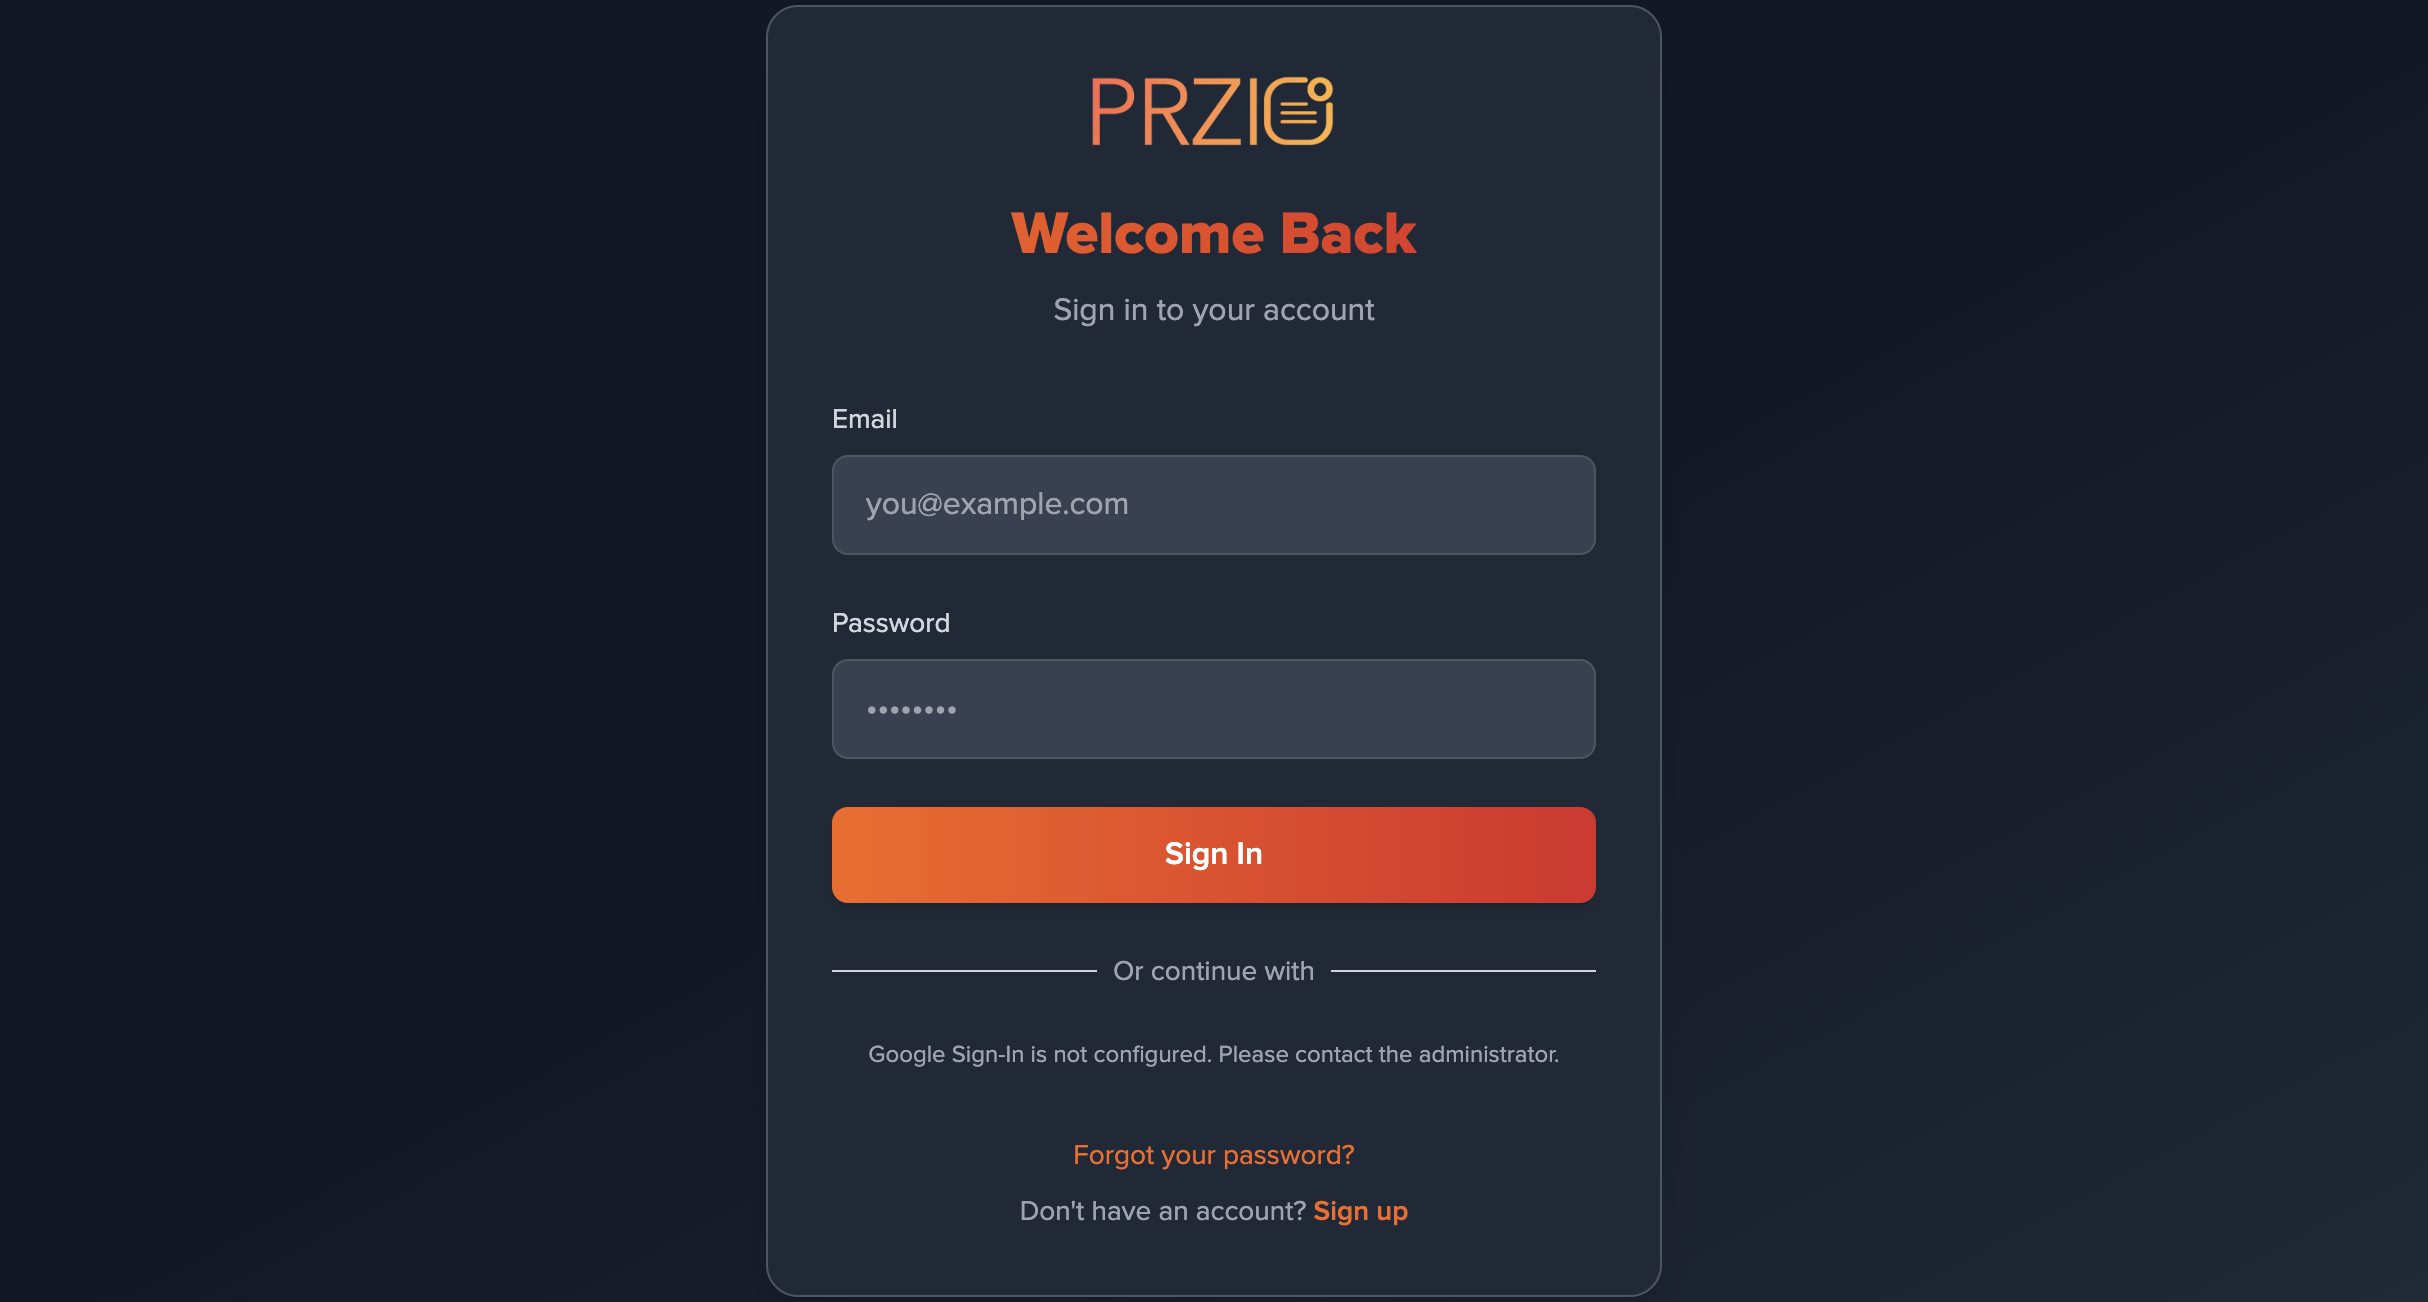
http://localhost:3000/login while logged out. File: step-00-login-przio.png1 · Create your first popup
Design your conversion popup in the PRZIO editor
Step 1.1: Open the popup builder
- Open your project dashboard
- Click Popups in the sidebar
- Click Create New Popup
http://localhost:3000/popups?projectId=69b3ab0209c0e181fa99603b.Step 1.2: Design your popup
- Enter a popup name (e.g. “Welcome Popup”)
- Use the visual editor to design the modal
- Add text, images, and buttons
- Customize colors, fonts, and layout
- Add a form for lead capture if needed
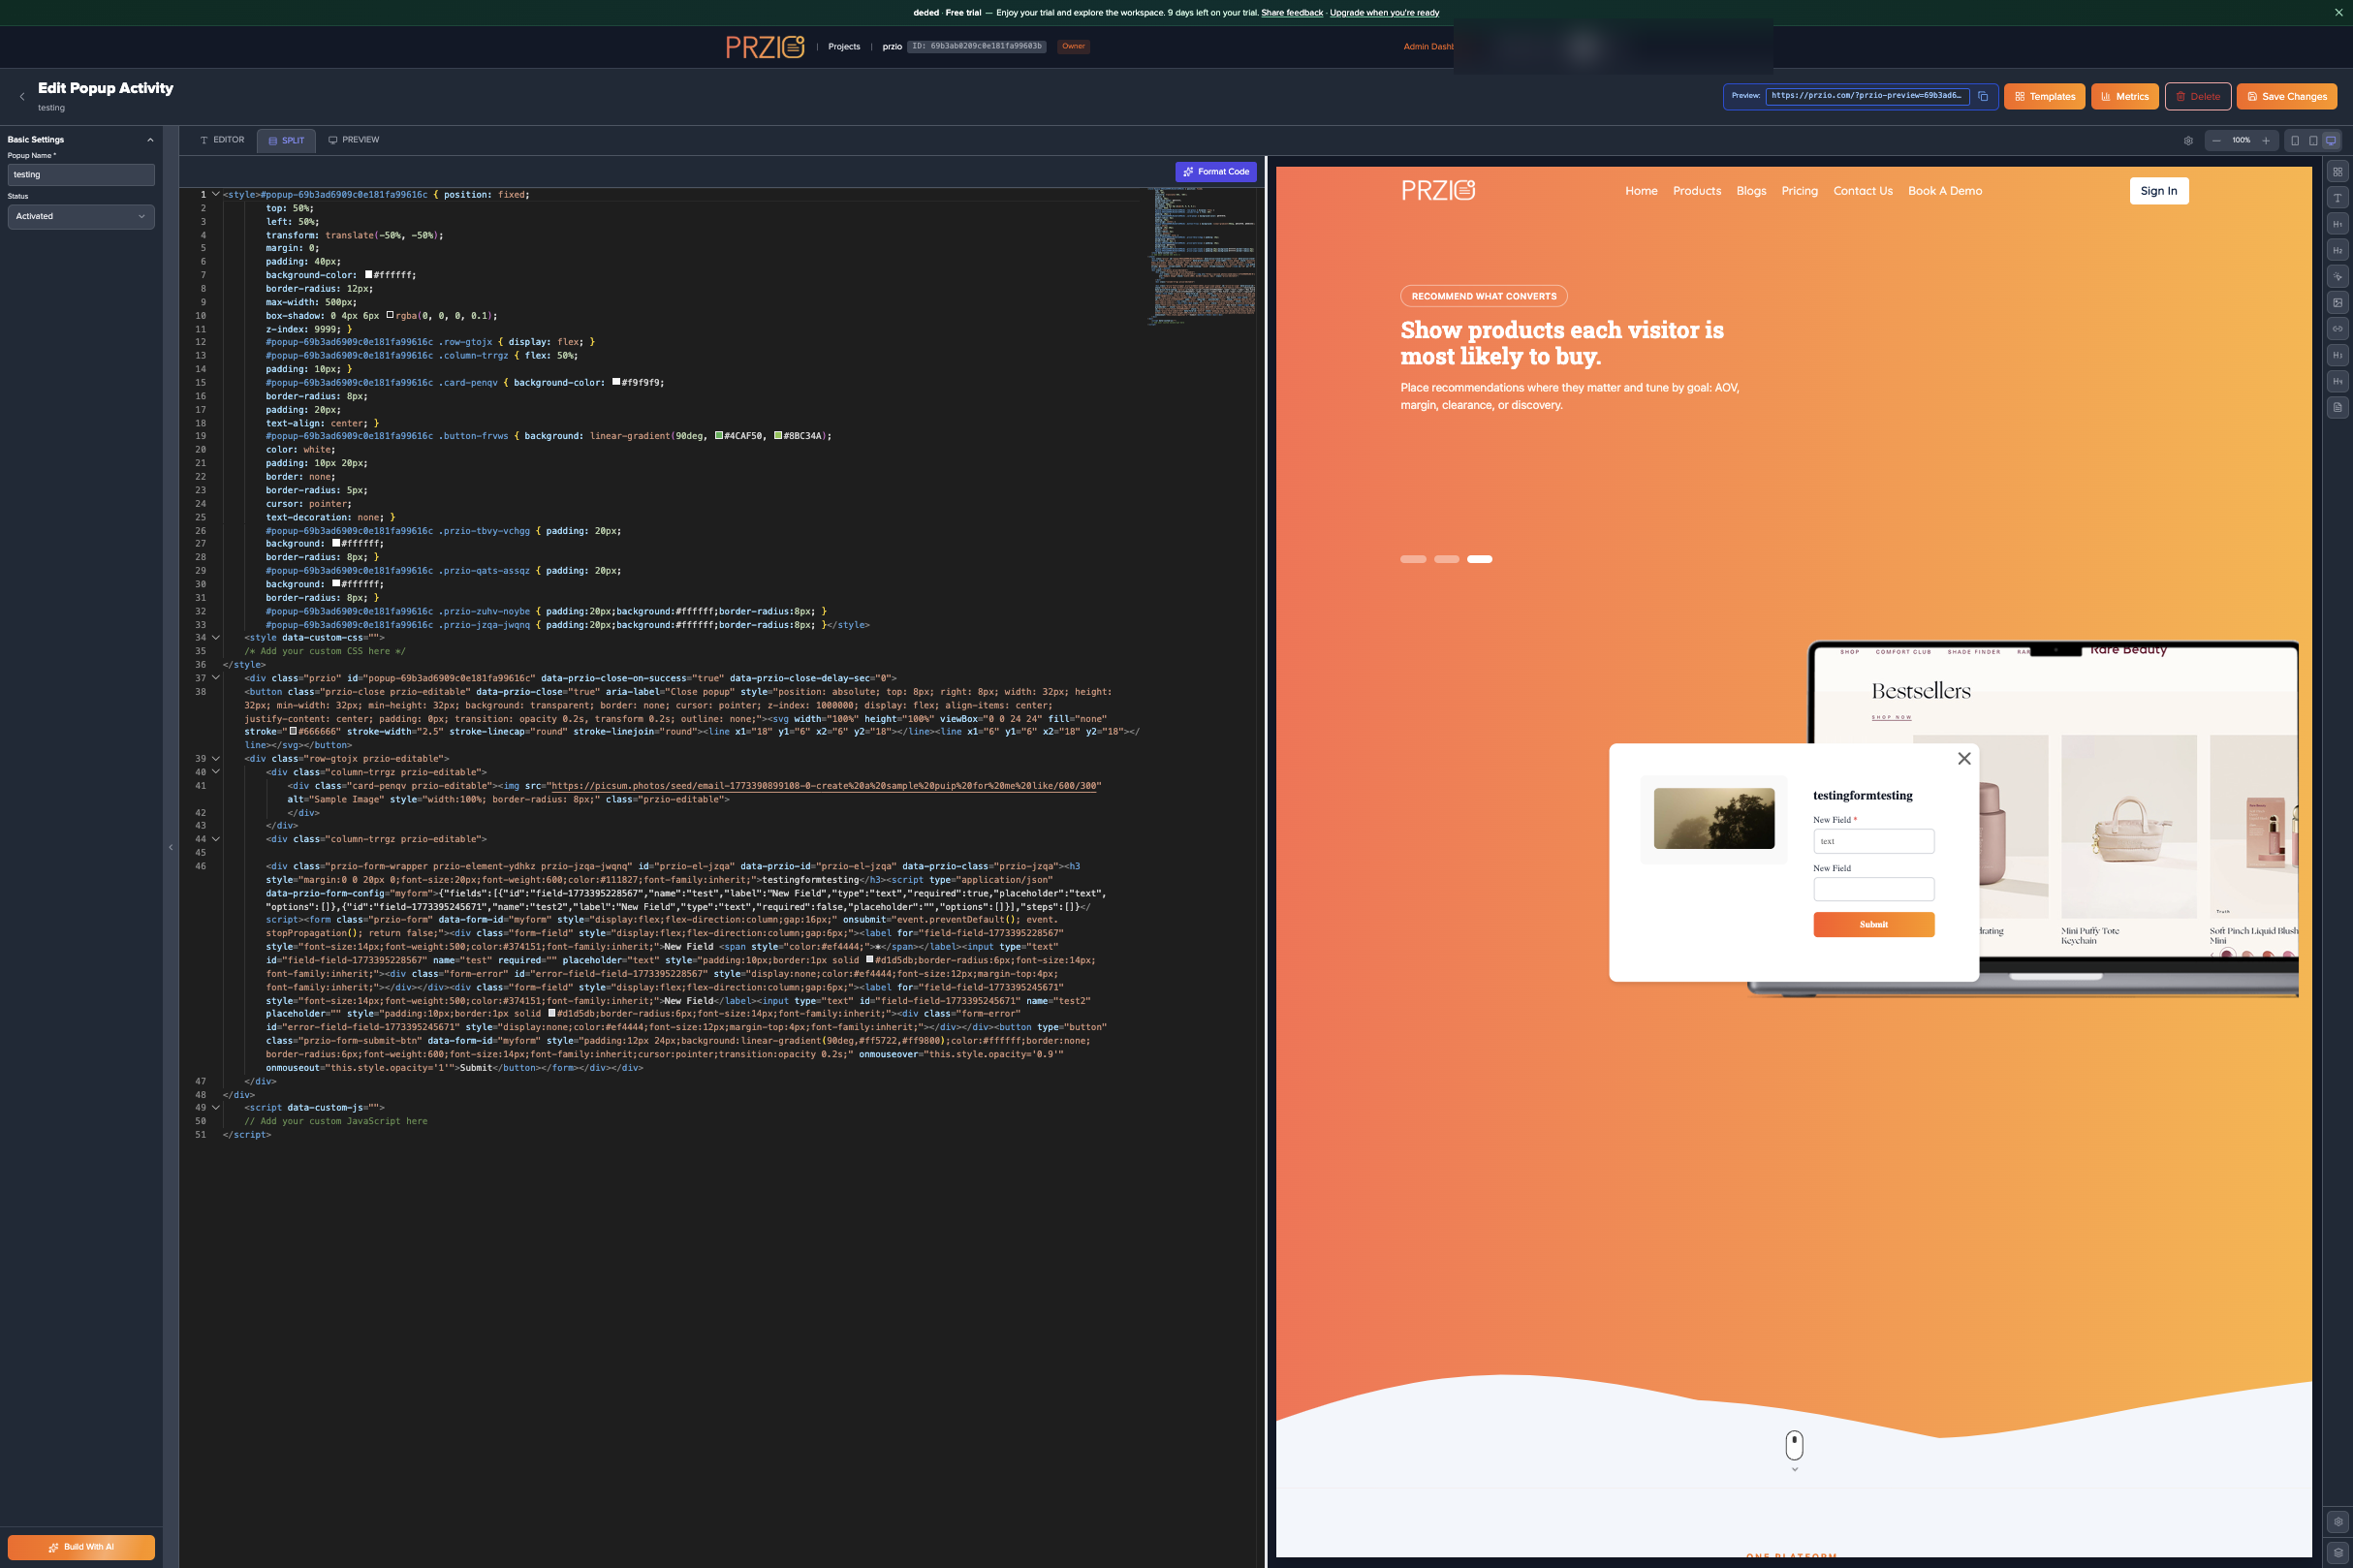
/popups/<activityId>?projectId=69b3ab0209c0e181fa99603b).Step 1.3: Save
- Click Save
- The popup is ready for targeting and the SDK
2 · Configure popup settings & triggers
Triggers
Step 2.1: Choose a trigger
Select when the popup should appear:
- Page load — show when the page loads
- Exit intent — show when the user moves to leave
- Scroll percentage — show after scrolling part of the page
- Timeout — show after a delay
- Element exists — show when a selector matches in the DOM
3 · Set up URL targeting
Control where the popup runs
Step 3.1: URL conditions
- Contains — URL contains specific text
- Equals — exact URL match
- Starts with — path prefix
- Does not contain — exclude paths
- Landing — homepage only
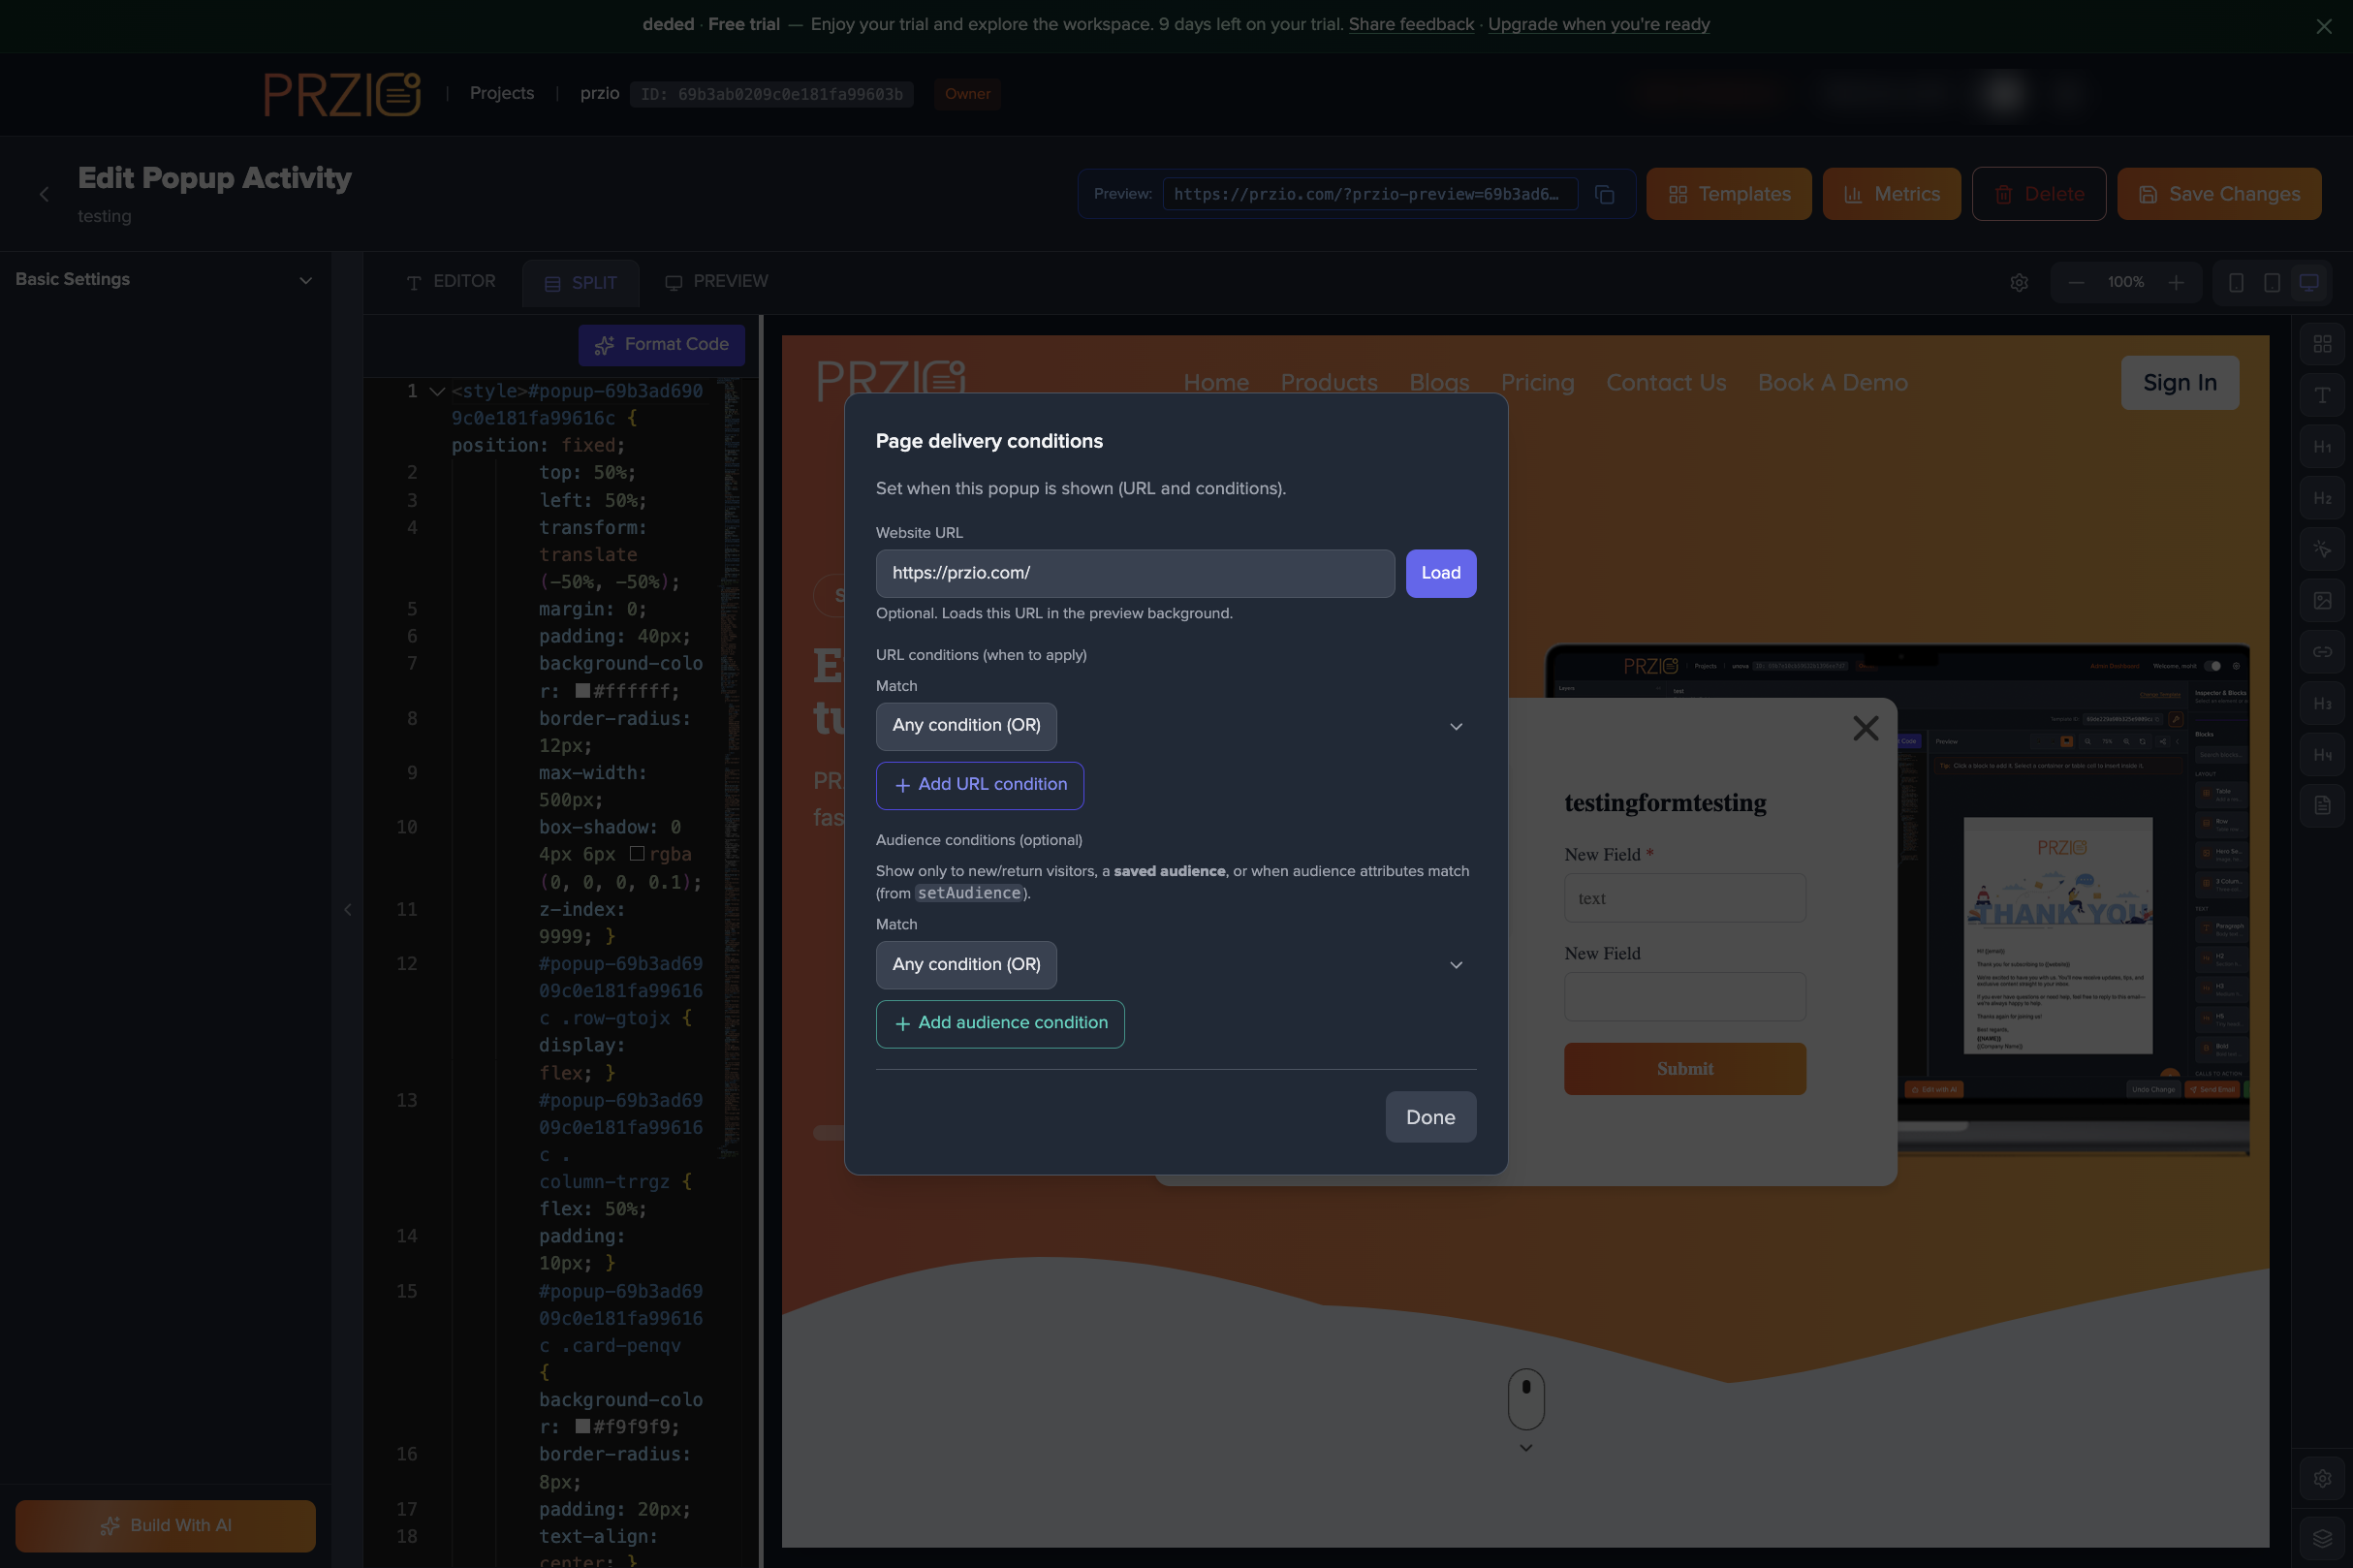
Step 3.2: Logic operator
- OR — any condition matches
- AND — all conditions must match
Step 3.3: Domain targeting (optional)
- Enter a hostname (e.g.
example.com) when you need to restrict by domain - The popup only evaluates on matching domains
4 · Install PRZIO Popup SDK
Add the script to your site
Step 4.1: Include the script
Add before </body>:
<script src="https://app.przio.com/sdk.js" data-project-id="YOUR_PROJECT_ID"></script>
If you already load the same script for website personalization, do not add a second tag. Use sdk.min.js if your project’s embed code uses the minified build.
Alternative: manual initialization
<script src="https://app.przio.com/sdk.js"></script>
<script>
  PrzioSDK.init({
    projectId: 'YOUR_PROJECT_ID',
    debug: false
  });
</script>
5 · Initialize Popup SDK
Automatic vs manual
Step 5.1: Automatic initialization
With data-project-id on the script tag, the SDK initializes when the page loads. Popups follow the triggers and URL rules from the dashboard.
Done: With the snippet in place, matching pages show popups according to your configuration.
Step 5.2: Manual initialization (advanced)
<script>
  if (typeof PrzioSDK !== 'undefined') {
    PrzioSDK.init({
      projectId: 'YOUR_PROJECT_ID',
      apiUrl: 'https://app.przio.com/api/sdk',
      debug: true
    });
  }
</script>
Step 5.3: Debug mode
PrzioSDK.init({
  projectId: 'YOUR_PROJECT_ID',
  debug: true
});
6 · Test your popup integration
Verify loading and display
Step 6.1: Confirm SDK loading
- Open your site in a browser
- Open Developer Tools (F12)
- On the Console tab, look for PRZIO SDK initialization messages
- Confirm the project ID matches
Step 6.2: Test display
- Open a URL that matches your URL conditions
- Fire the trigger you configured (refresh for page load, move cursor up for exit intent, scroll, wait for timeout, etc.)
- Confirm layout and close behavior
Step 6.3: Forms (if applicable)
- Submit a test lead through the popup form
- Confirm submissions appear in the PRZIO dashboard
- Confirm auto-close after submit if enabled
Tutorial checklist
- Popup designed and saved
- Triggers configured
- URL targeting set
- SDK installed on your website
- Popup tested end-to-end
Configure in PRZIO
End-to-end steps to define content, targeting, triggers, and activation.
- Create a popup activity — In Project → Popups, start a new activity and give it a clear name (e.g. “Homepage exit offer Q2”).
- Design the modal — Use a template or paste HTML in the editor; preview in the editor’s preview/split view. For embedded PRZIO forms, keep the form + SDK on the same document as documented in the form builder.
- Set URL targeting — Add URL conditions so the popup only runs where intended (e.g.
containsa path segment,startsWitha prefix, orequalsa full path). Combine conditions with AND or OR per yourlogicOperator. Optionally restrict by domain when your project spans multiple hosts. - Optional: audiences — Add audience conditions (new vs return visitors, custom attributes, saved segments) with AND/OR logic, consistent with personalization.
- Popup settings & triggers — In the sidebar, set trigger (page load, timeout, exit intent, scroll percentage, element exists) and related fields: delays in ms, scroll %, CSS selector for element exists, exit-intent minimum time/scroll, cooldown days, max per session, cookie/session dismiss behavior, position, backdrop, size, z-index, and close button.
- A/B tests (optional) — Enable multiple experiences, set traffic splits, run or pause tests, and record a winner when ready.
- Save and test — Keep status as draft while you verify on a URL that matches your rules (same browser, real snippet).
- Activate — Set status to activated when behavior matches expectations.
Narrow URL rules. Avoid overly broad contains values that match most of your site; prefer path prefixes or specific paths to prevent surprise impressions.
popupSettings reference
Stored on each popup activity; optional keys can be omitted when unused.
| Field | Purpose |
|---|---|
enabled |
Master toggle evaluated together with activity status. |
trigger |
exitIntent | pageLoad | timeout | elementExists | scrollPercentage |
timeout |
Milliseconds when trigger is timeout. |
scrollPercentage |
0–100 when trigger is scrollPercentage. |
elementSelector |
CSS selector when trigger is elementExists (validate in browser devtools on your page). |
inactivityTimeout |
Seconds of inactivity for exit-intent-related behavior where applicable. |
exitIntentMinTimeOnPage |
Minimum seconds on page before exit intent may fire. |
exitIntentMinScrollPercentage |
Minimum scroll % before exit intent may fire. |
exitIntentCooldownDays |
Days before showing exit-intent again to the same visitor. |
exitIntentMaxPerSession |
Maximum exit-intent impressions per session. |
cookieEnabled, cookieExpiry |
Remember dismiss across sessions (expiry in days). |
sessionEnabled |
Session-scoped dismiss memory. |
position |
Modal placement (corners and center variants). |
backdropEnabled, backdropColor, backdropOpacity, backdropZIndex |
Overlay scrim. |
width, height, radii, margins, padding, boxShadow, animation |
Container chrome and motion. |
showCloseButton, closeButtonColor, closeButtonSize, closeButtonPosition |
Close control. |
zIndex |
Stacking order above page content. |
closeOnSuccessfulSubmit, closeAfterSubmitDelaySec |
Auto-close after a successful PRZIO form submit inside the popup. |
URL condition types on urlConditions[]: contains, equals, landing, startsWith, doesNotContain; optional domain for host-level scoping.
Use-case → trigger map
| Use case | Suggested trigger & notes |
|---|---|
| Exit intent save / discount | exitIntent + cooldown + min time on page; tune exitIntentMaxPerSession. |
| Timed promotion | timeout with delay in ms. |
| Mid-content signup | scrollPercentage (e.g. 45–65%). |
| Welcome or announcement | pageLoad + cookie/session caps. |
| Near a specific block | elementExists + selector verified in devtools on your site. |
Content Security Policy (CSP)
If your site uses a Content Security Policy, allow app.przio.com so the SDK can load and call APIs. You do not need to whitelist app.przio.com for CORS—that is handled server-side.
- script-src — include
https://app.przio.comif you load the SDK from that host - connect-src — include
https://app.przio.comfor API calls
Meta tag example (merge with your existing CSP):
<meta http-equiv="Content-Security-Policy" content="script-src 'self' https://app.przio.com; connect-src 'self' https://app.przio.com;">
Header example:
Content-Security-Policy: script-src 'self' https://app.przio.com; connect-src 'self' https://app.przio.com;
Integration checklist
- SDK on every page where popups should run;
data-project-idcorrect. - URL conditions scoped to intended paths only (tutorial §4).
- Triggers tested on real URLs: delays, scroll, exit intent cooldown, element selector on live DOM (tutorial §7).
- CSP updated if your site uses Content Security Policy (section above).
- Draft → QA → activated only after verification.