PRZIO Complete Installation & Tool Tutorials
This guide is intentionally based on the real in-app /projects journey, not public integration pages.
Follow these steps exactly in order to install PRZIO on your website and configure every tool.
Install base URL for production websites: https://app.przio.com
1) Overview
- Sign in and open your project workspace
- Copy installation script and API keys from project settings
- Configure each tool from the project dashboard
- Validate each tool with a quick end-to-end test
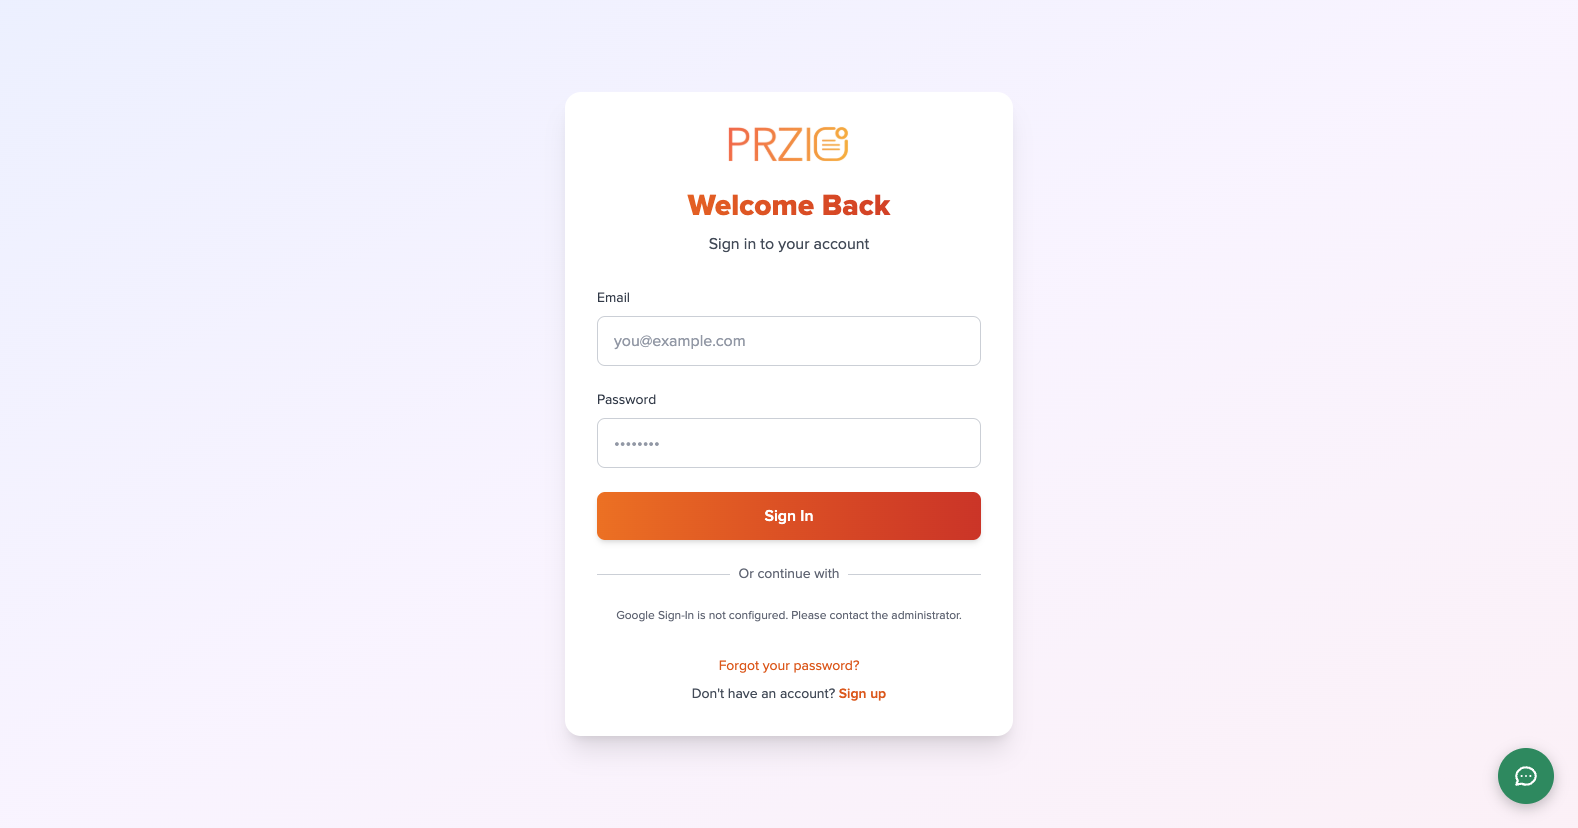
2) Login
- Open
/login. - Enter email and password, then click
Sign In. - After login, open the Projects area.
3) Projects Home
- Open
/projectsafter login. - Click
Create Projectcard (or use an existing project card). - In the modal, enter project name and optional description, then click
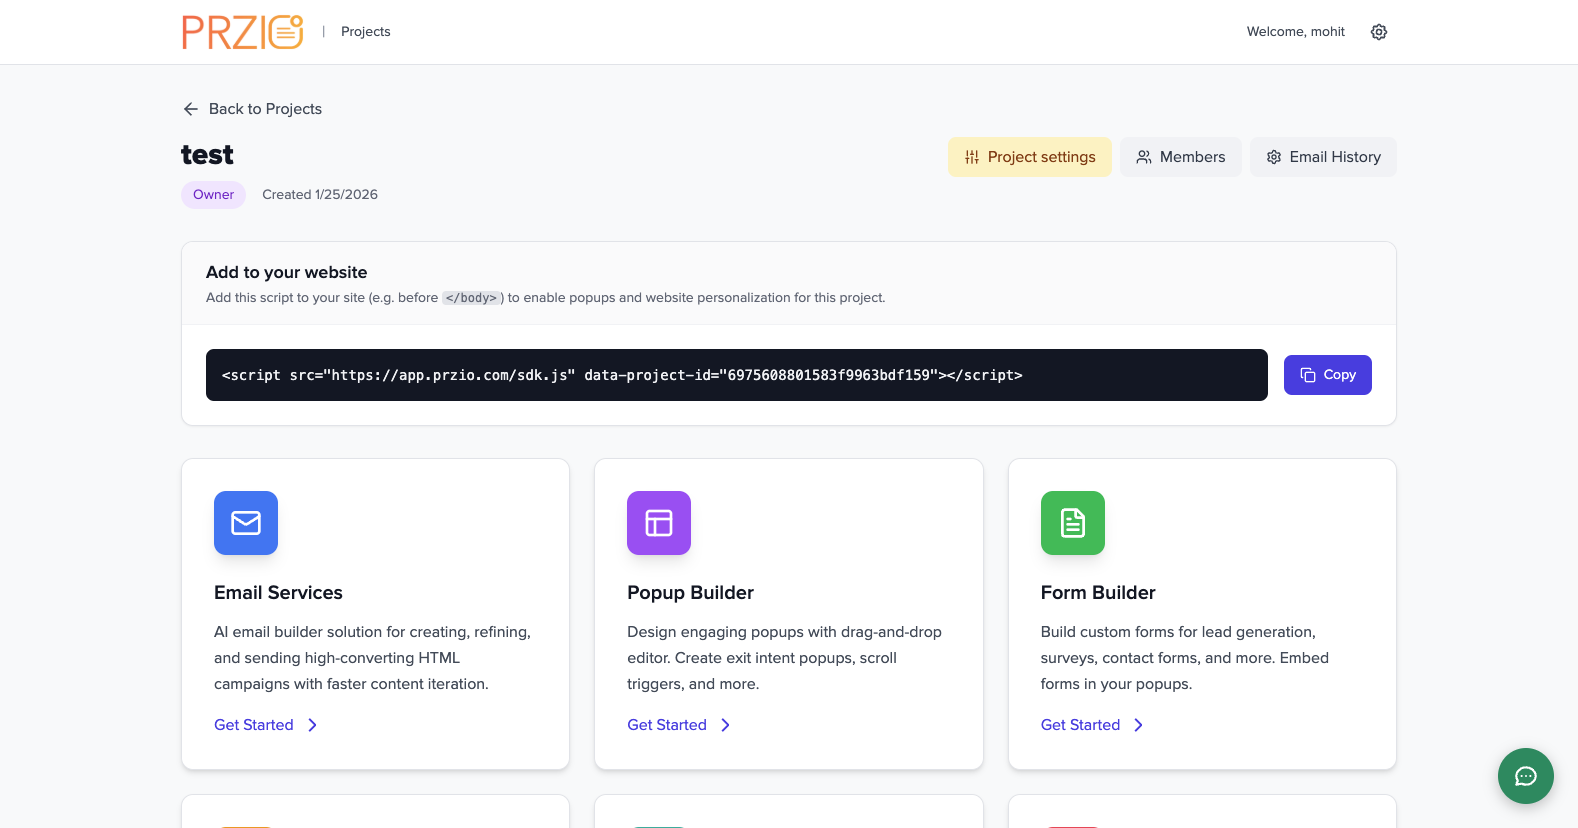
Create. - After creation, you will be redirected to the new project dashboard where script, tools, and project ID are available.
- Use
Copyin the “Add to your website” card to copy the installation script. - Open
Membersfrom project header to manage project team/recipients. - Click
+ Add Recipient, add member name and email, then submit. - Confirm success message and updated recipient count in the members list.
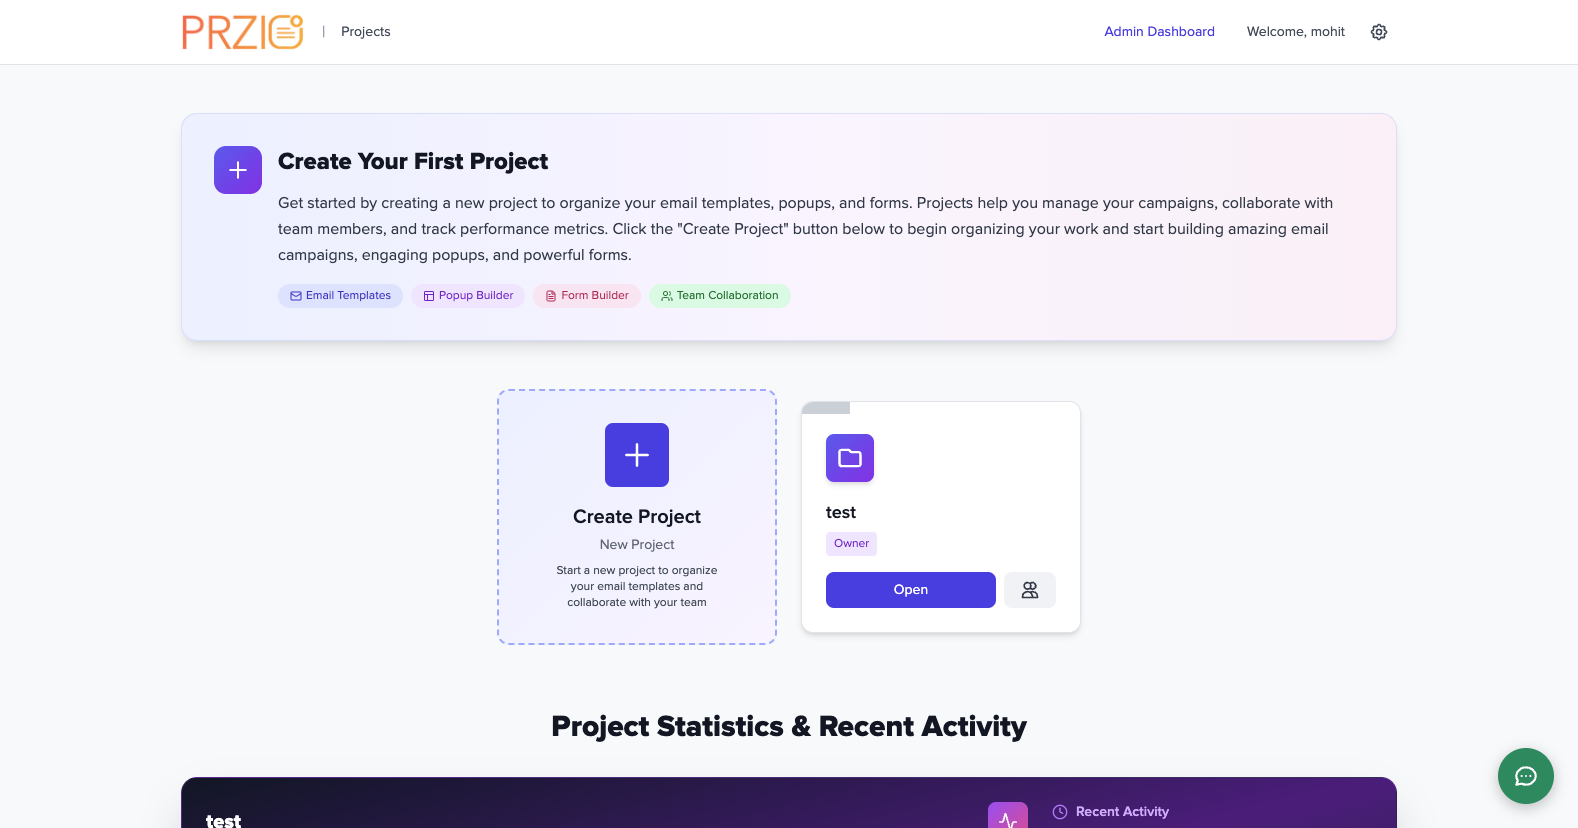
Step 1
Open /projects and verify the project list is visible. Start by selecting Create Project.
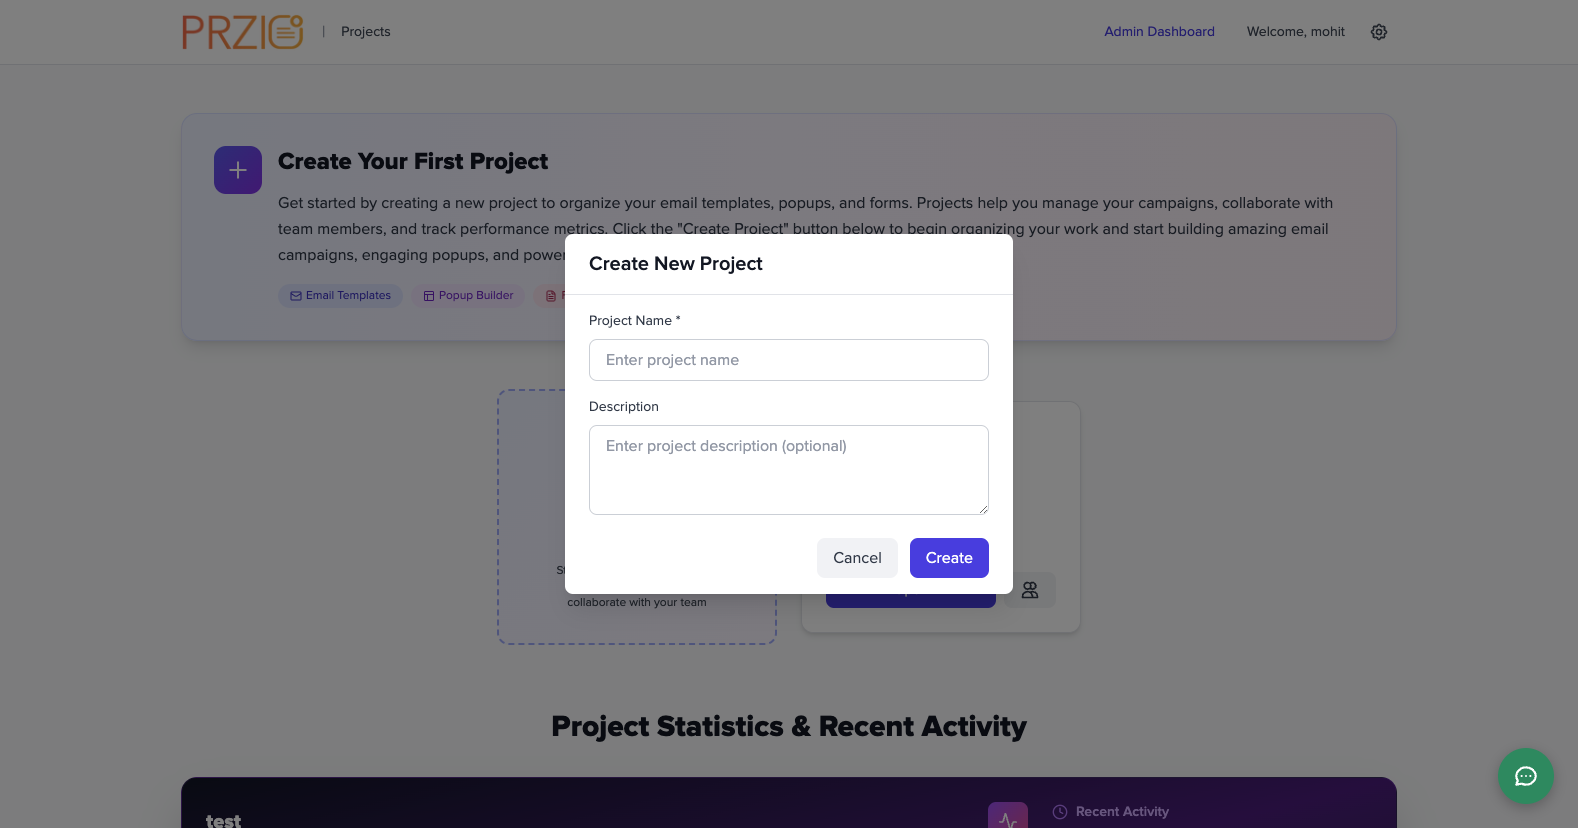
Step 2
The create modal opens with required project name and optional description fields.

Step 3
Enter project details, review values, and click Create to create the project workspace.
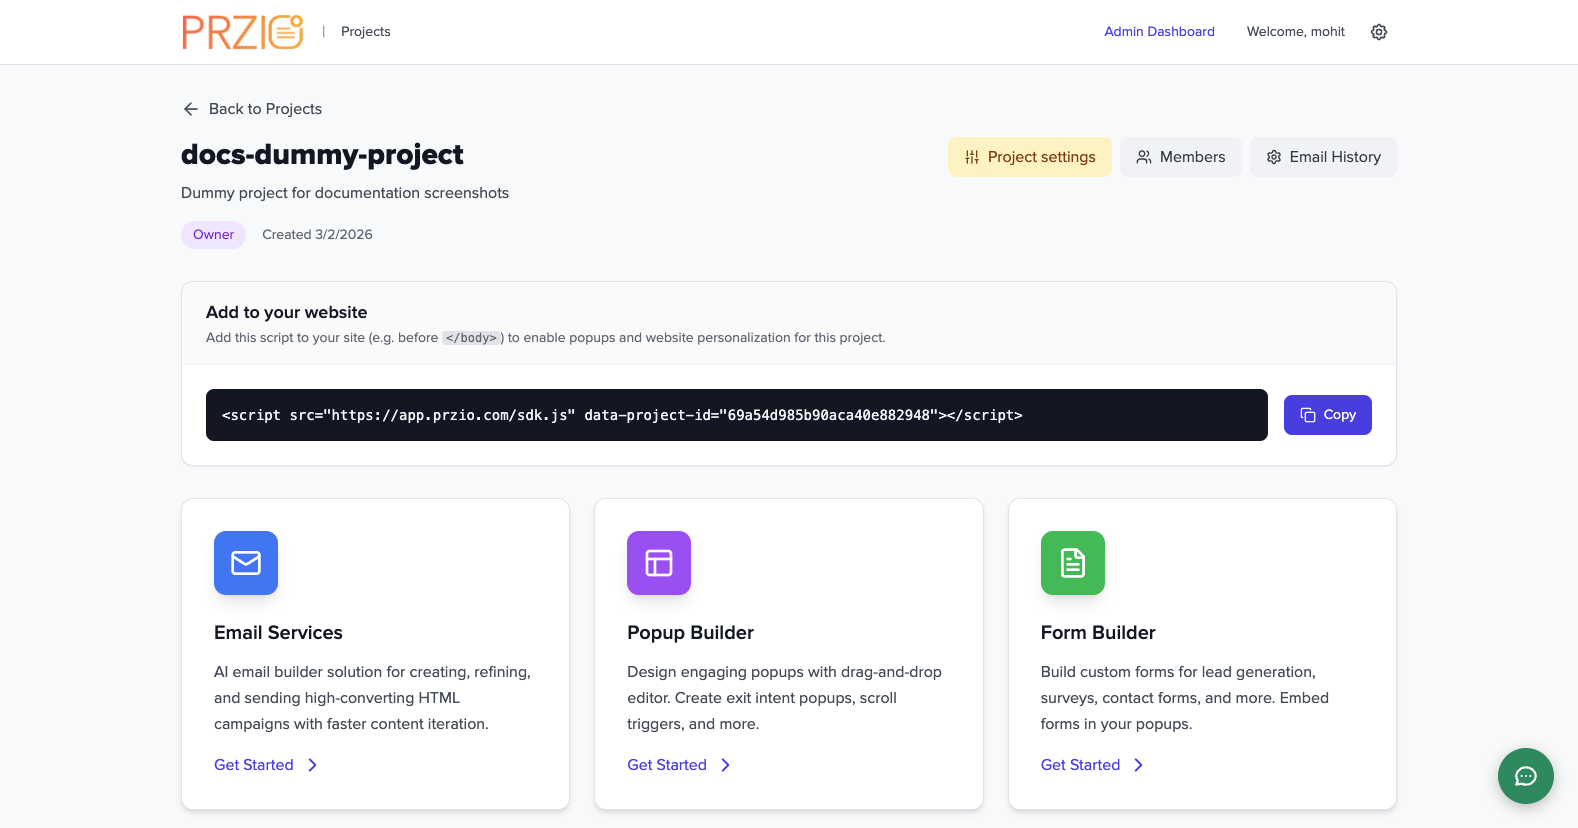
After creation, copy the installation script from “Add to your website” and note the project ID for setup.
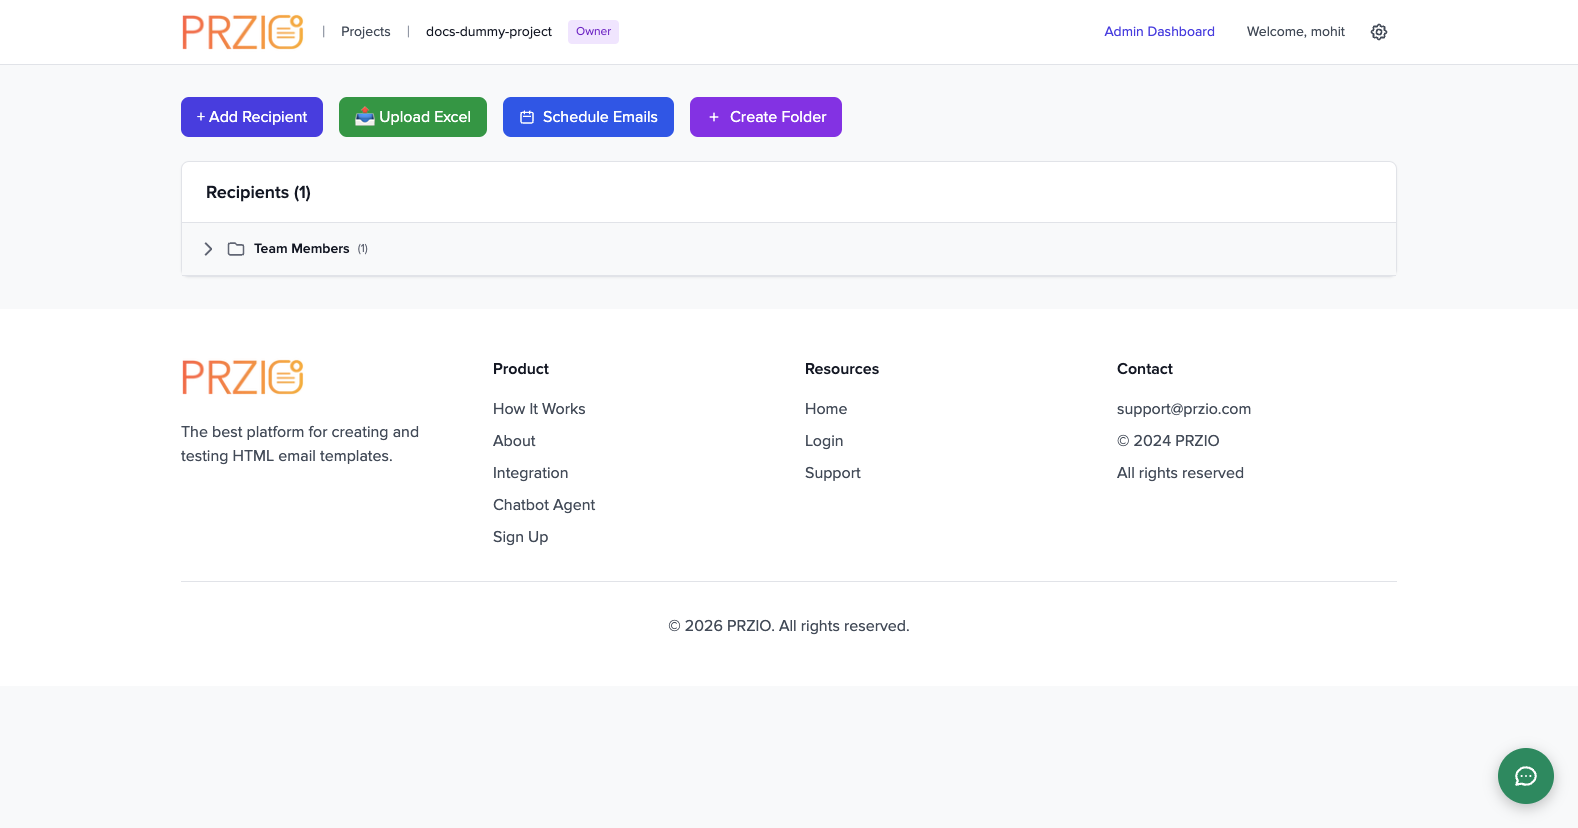
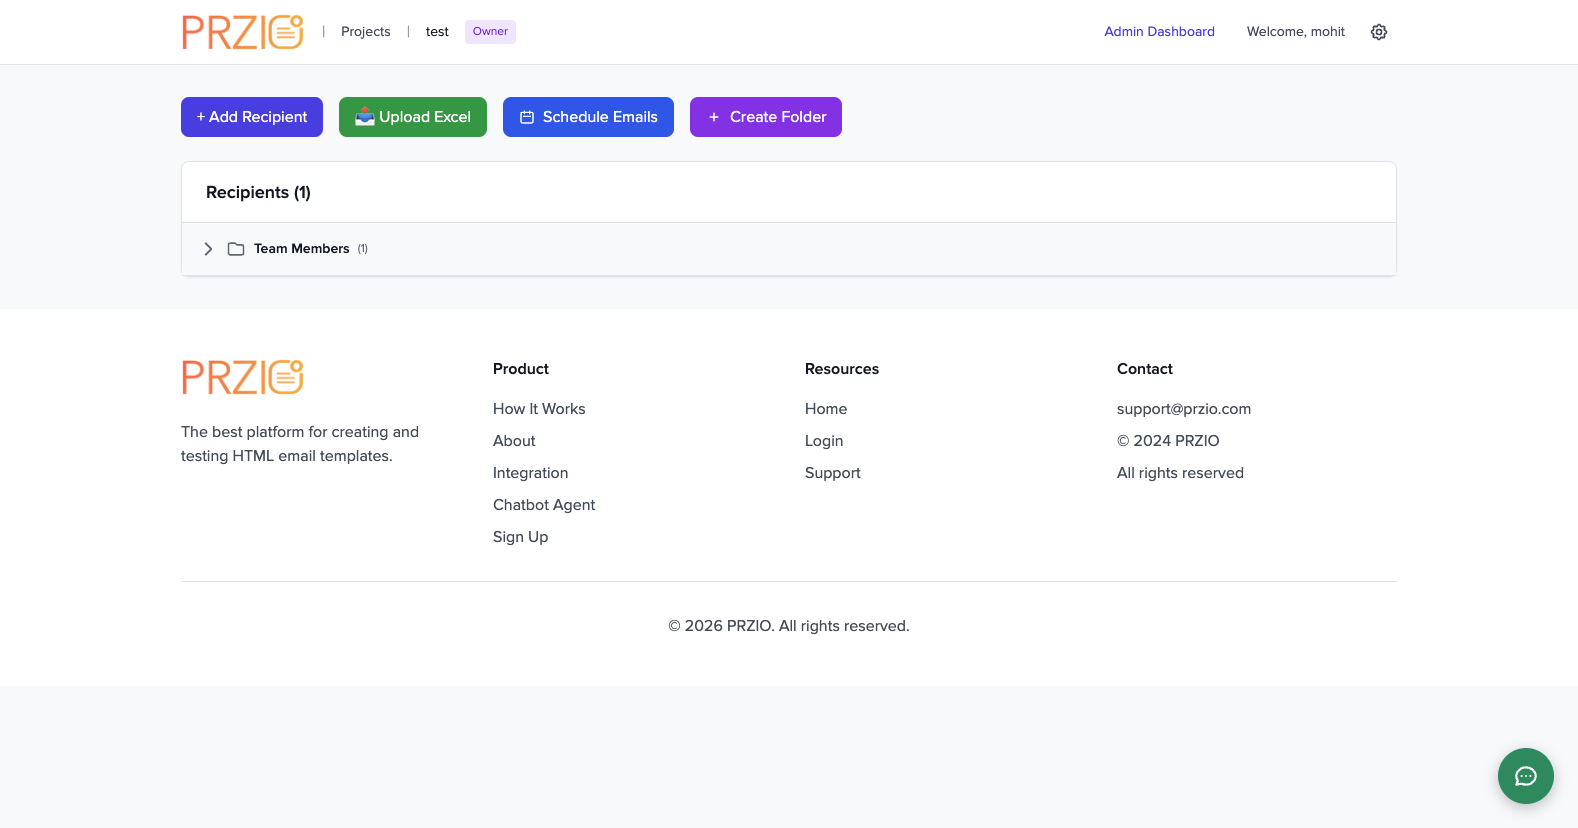
Open Members from the project header to manage recipients/team contacts for this project.
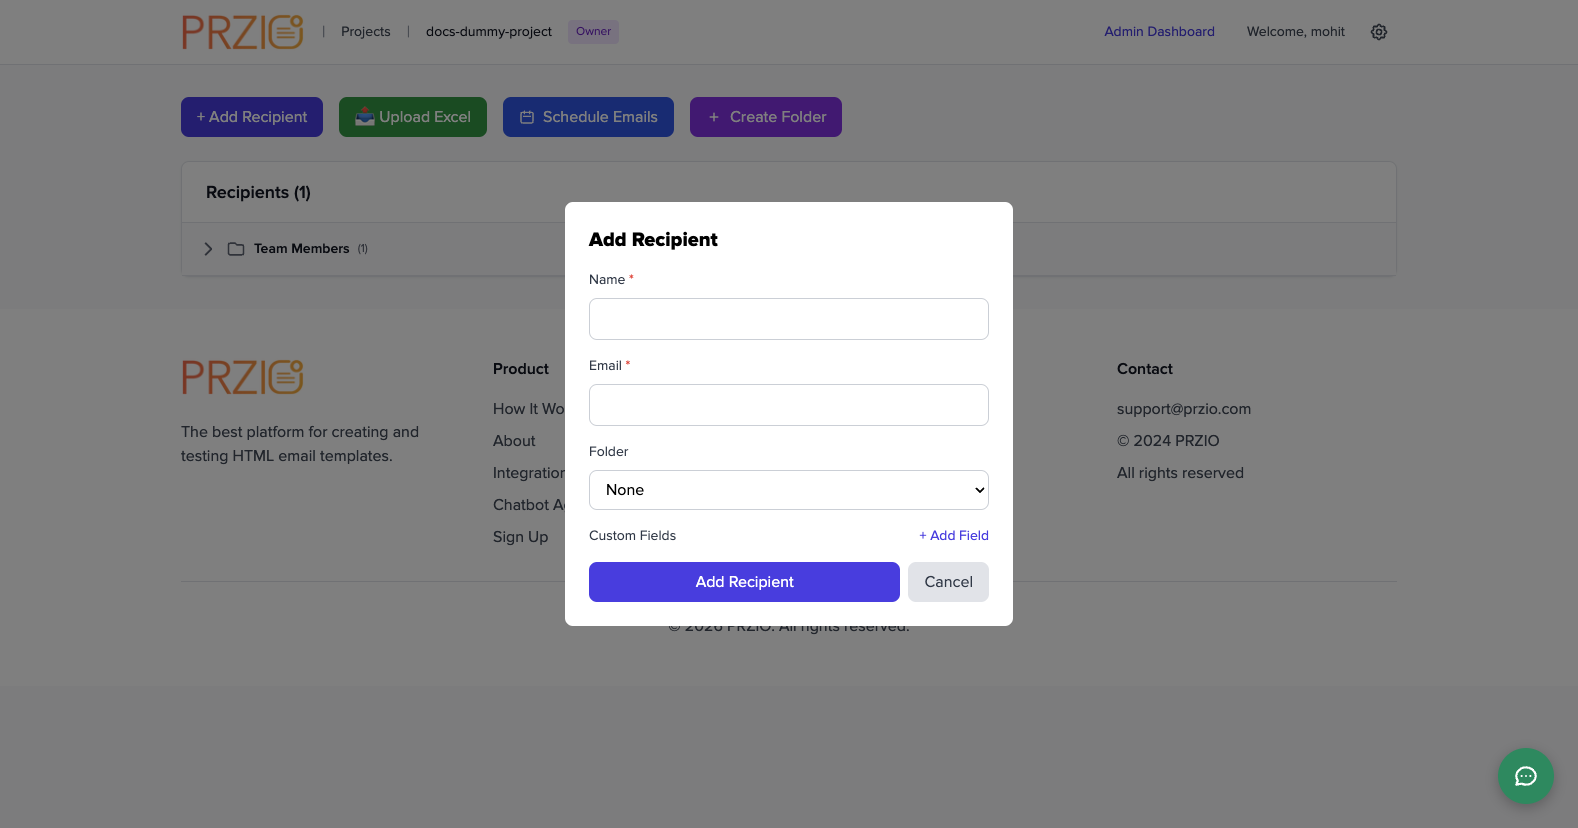
Click + Add Recipient to open the member form for adding a new team contact.
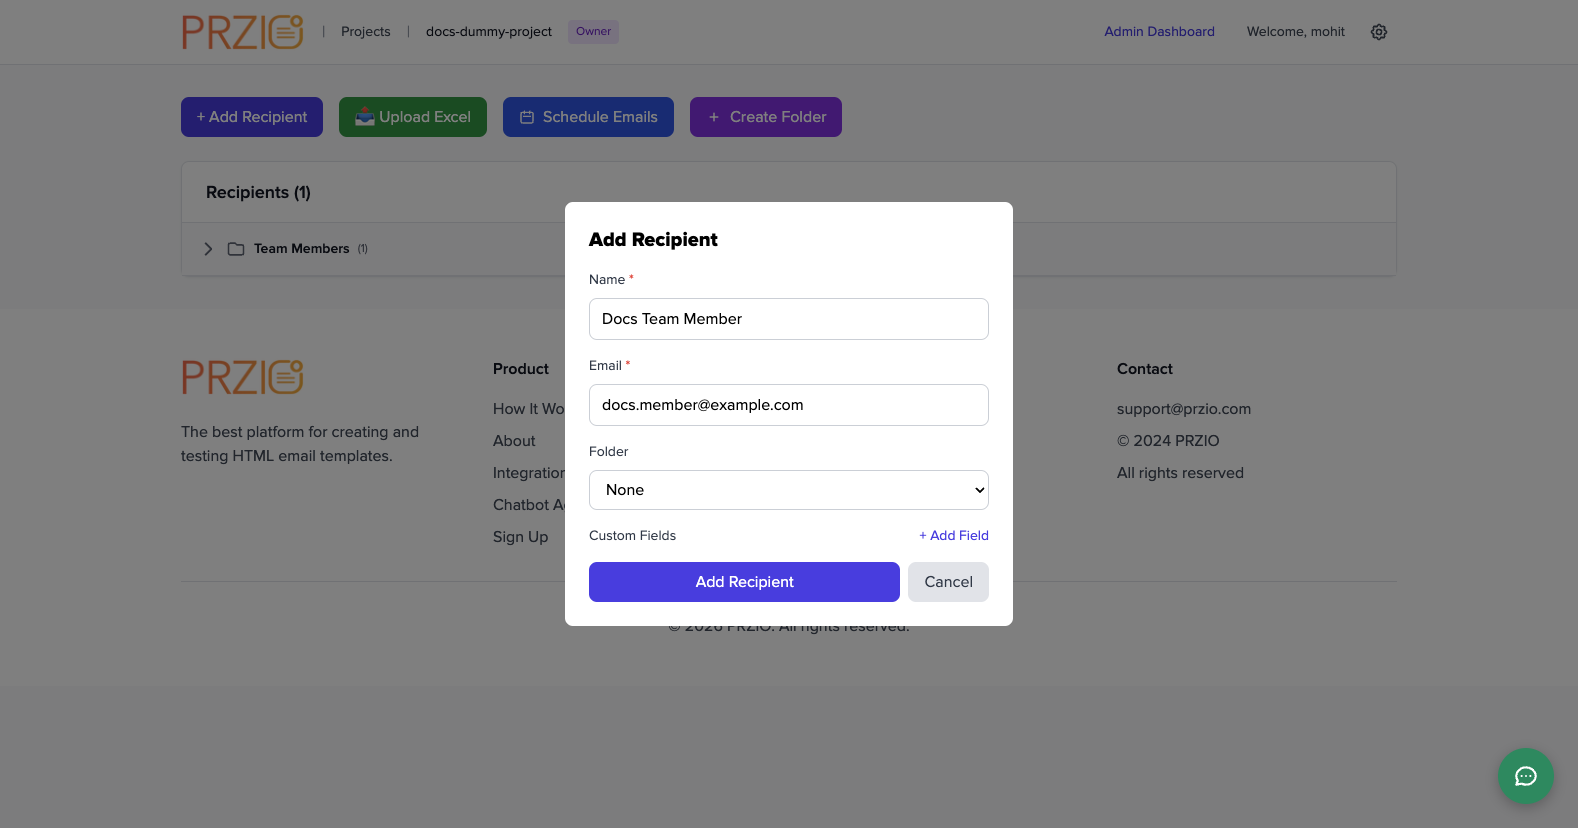
Enter member name and email, then submit with Add Recipient.
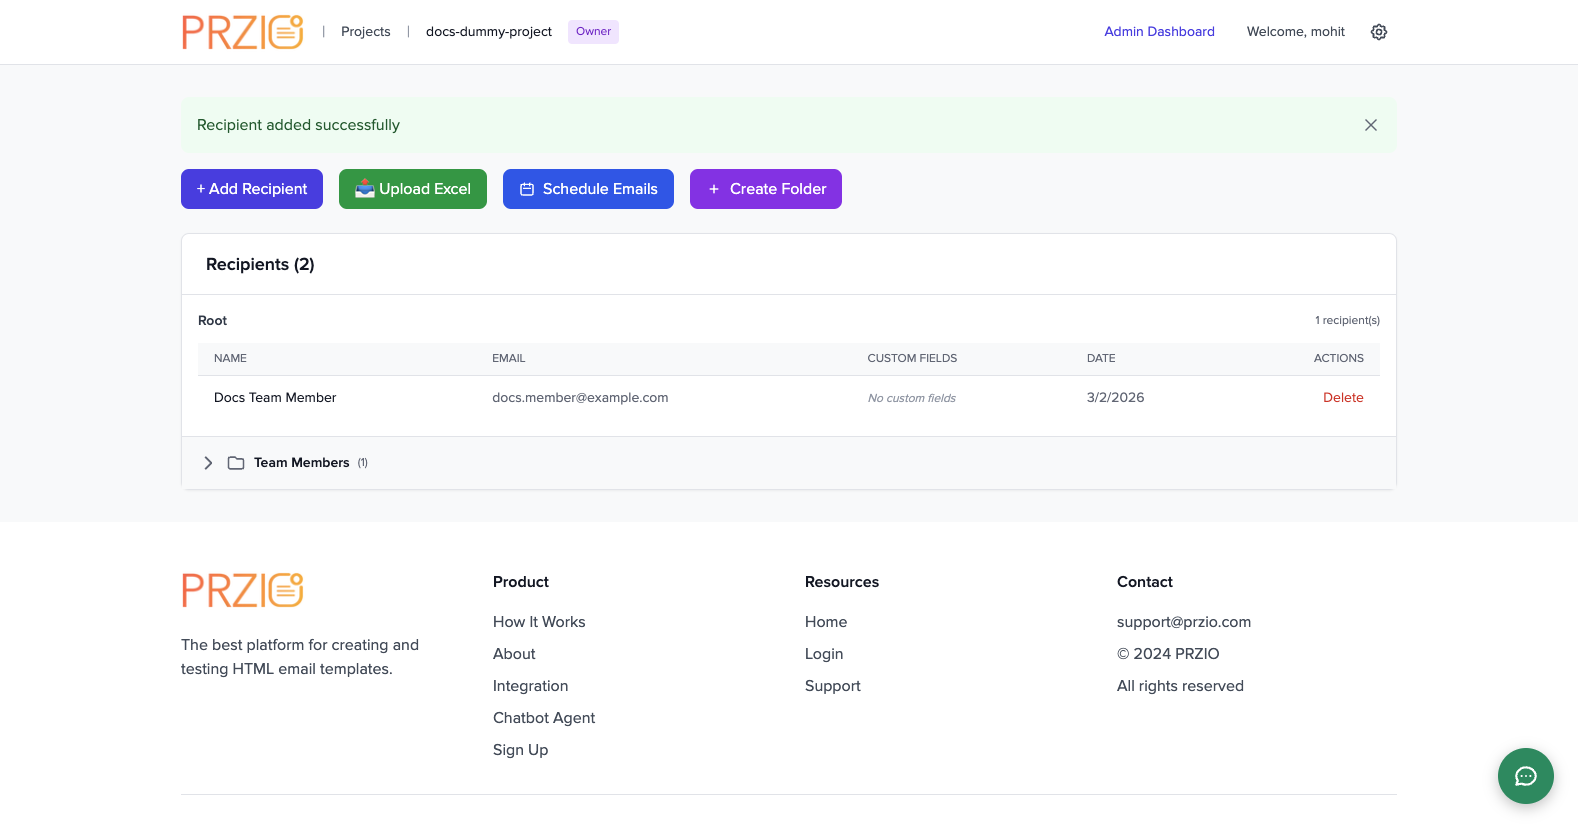
Confirm success toast and updated recipients table to ensure team member onboarding is complete.
4) Project Dashboard
- Open your project card.
- Review product cards: Email Services, Popup Builder, Form Builder, Website Personalization, Audience Manager, Assets Manager, Chatbot Agent.
- Use each
Get Startedcard to open the matching product module.
5) Project Settings + Installation
- Open the project dashboard and click
Project settings. - Review Project information and copy project ID for SDK/API integration.
- Create project API keys from API Keys section.
- Add SMTP configuration from Email (SMTP) settings.
- Review User identity stitching to map site visitors to your app user ID.
- Optionally set Project AI agent API keys (OpenAI/OpenRouter/Anthropic/Gemini) for project-level override.
- Manage trigger Actions and save as needed.
- Use the installation snippet from project dashboard:
<script src="https://app.przio.com/sdk.js" data-project-id="YOUR_PROJECT_ID"></script>For chatbot widget installation:
<script
src="https://app.przio.com/chatbot-widget.js"
data-base-url="https://app.przio.com"
data-project-id="YOUR_PROJECT_ID"
data-api-key="YOUR_API_KEY"
async
></script>
Step 1
Start on project dashboard and click Project settings in the header controls.
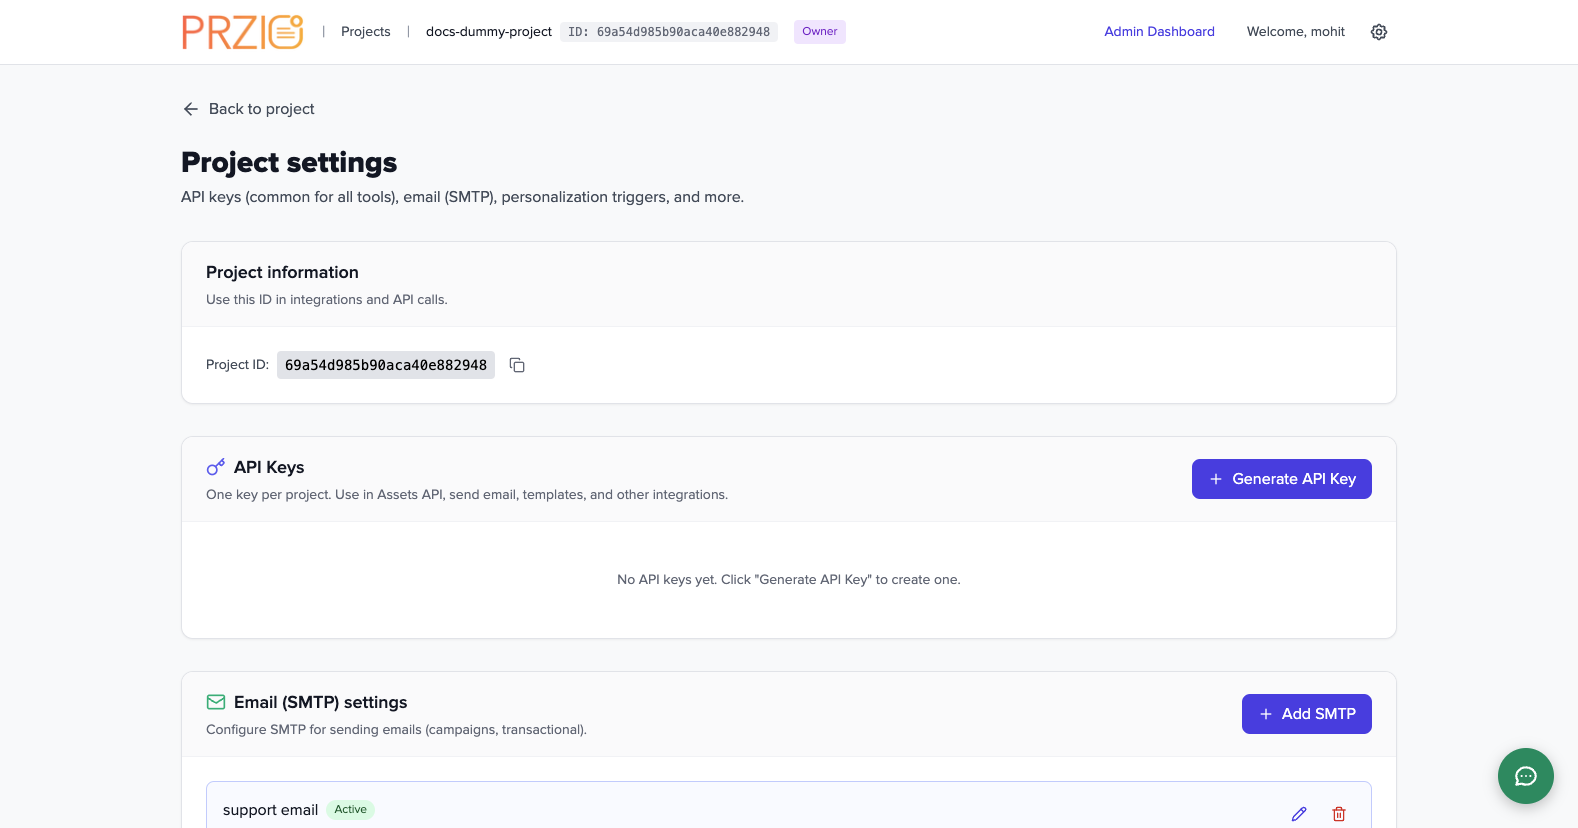
Step 2
Review key sections: Project ID, API Keys, Email SMTP, identity stitching, AI keys, and actions.
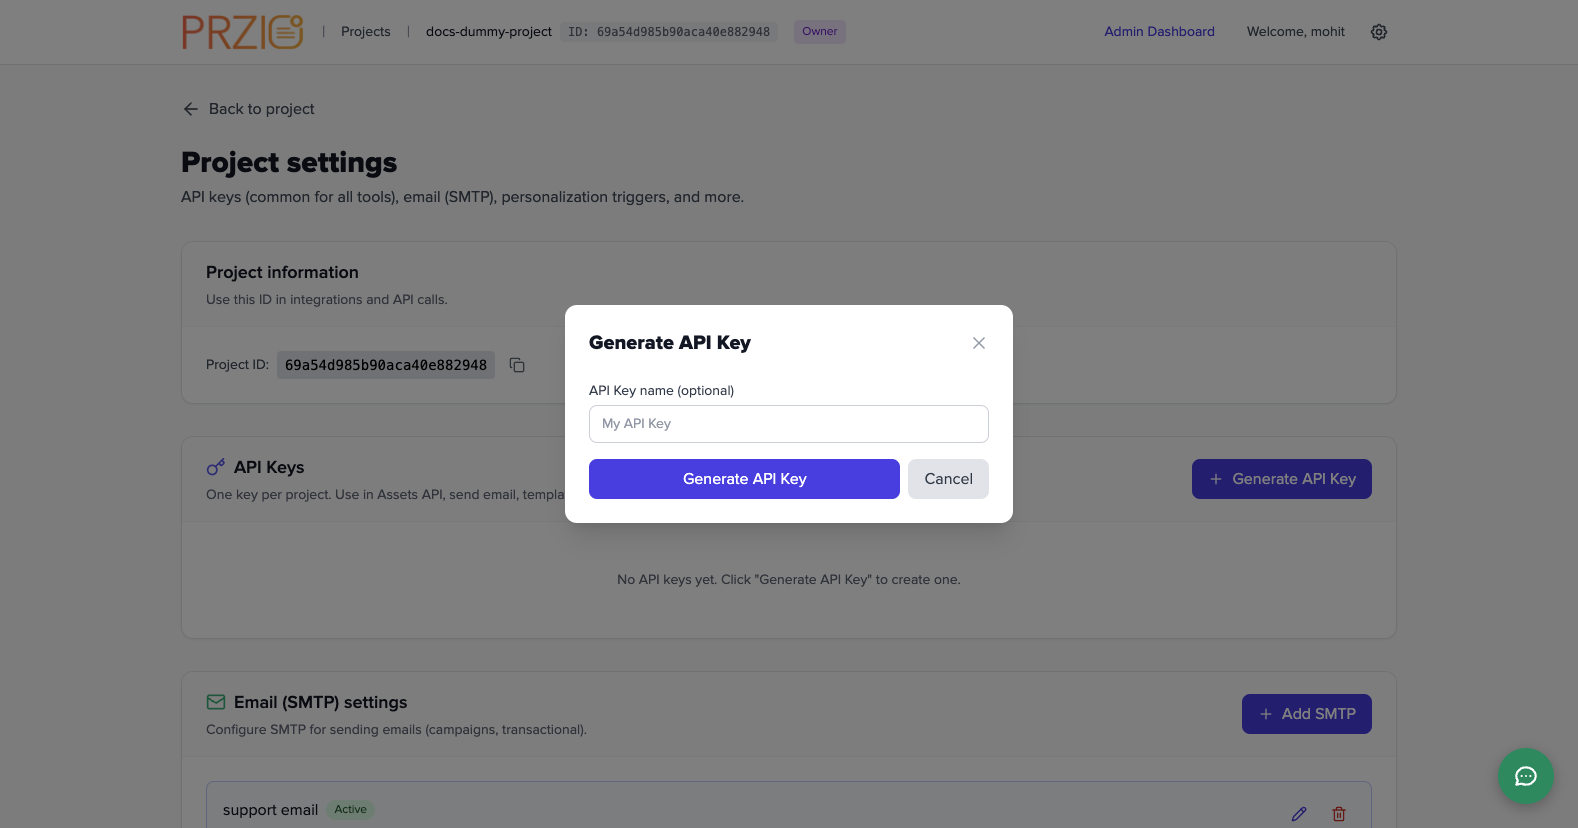
Step 3
Click Generate API Key and provide an optional key name for easier key tracking.
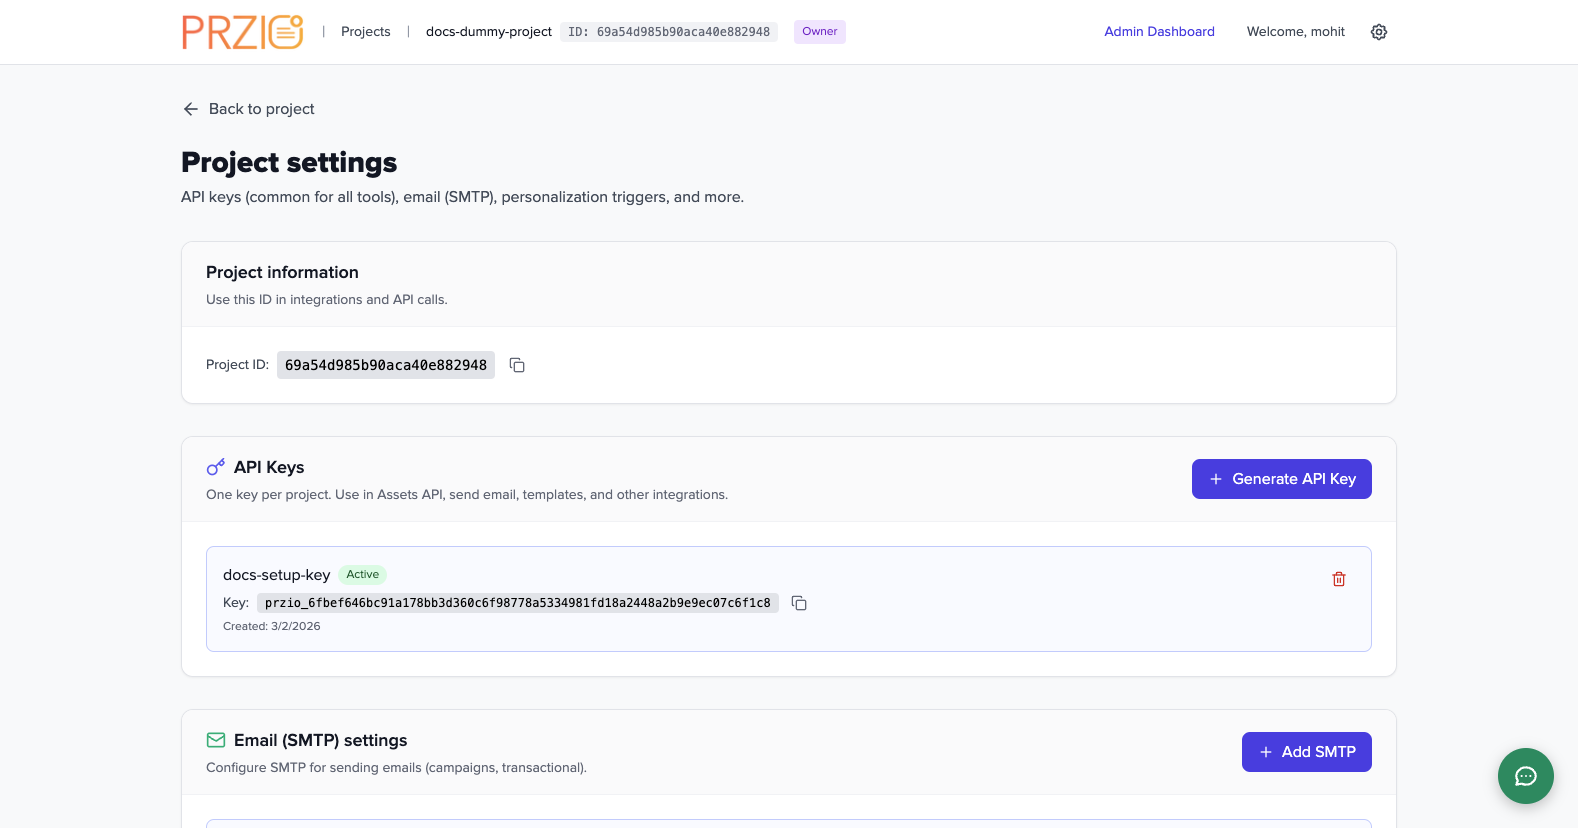
Step 4
After creation, copy and store the key securely; use it for integrations like chatbot and APIs.
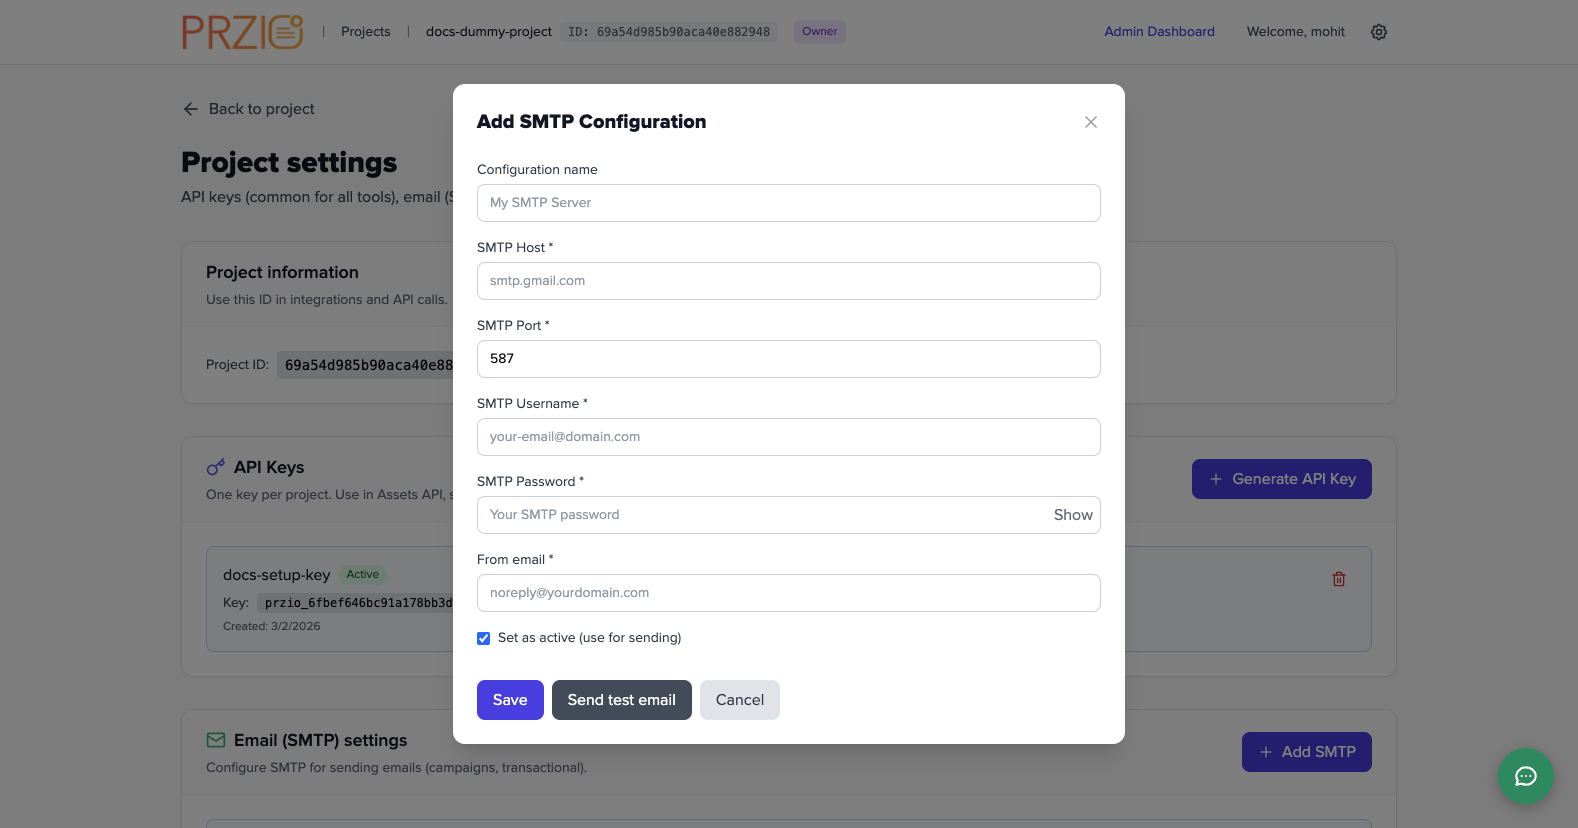
Step 5
Click Add SMTP to configure host, port, username, password, and from-email.

Step 6
Example dummy values filled for documentation: host, username, password, and sender email.
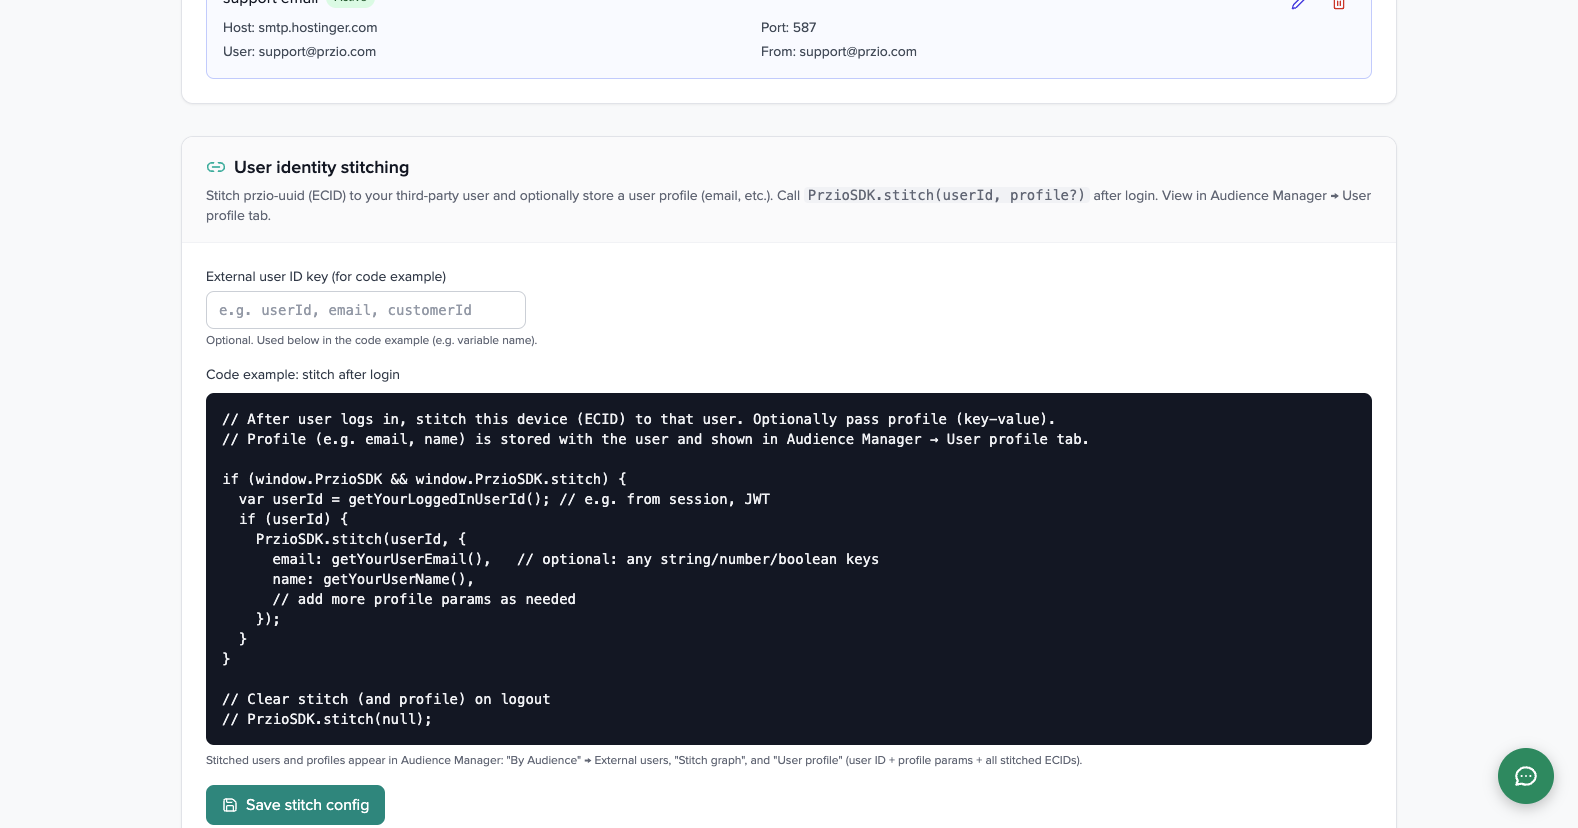
Step 7
Define external user ID key and use stitch code to map anonymous visitor UUID to logged-in users.
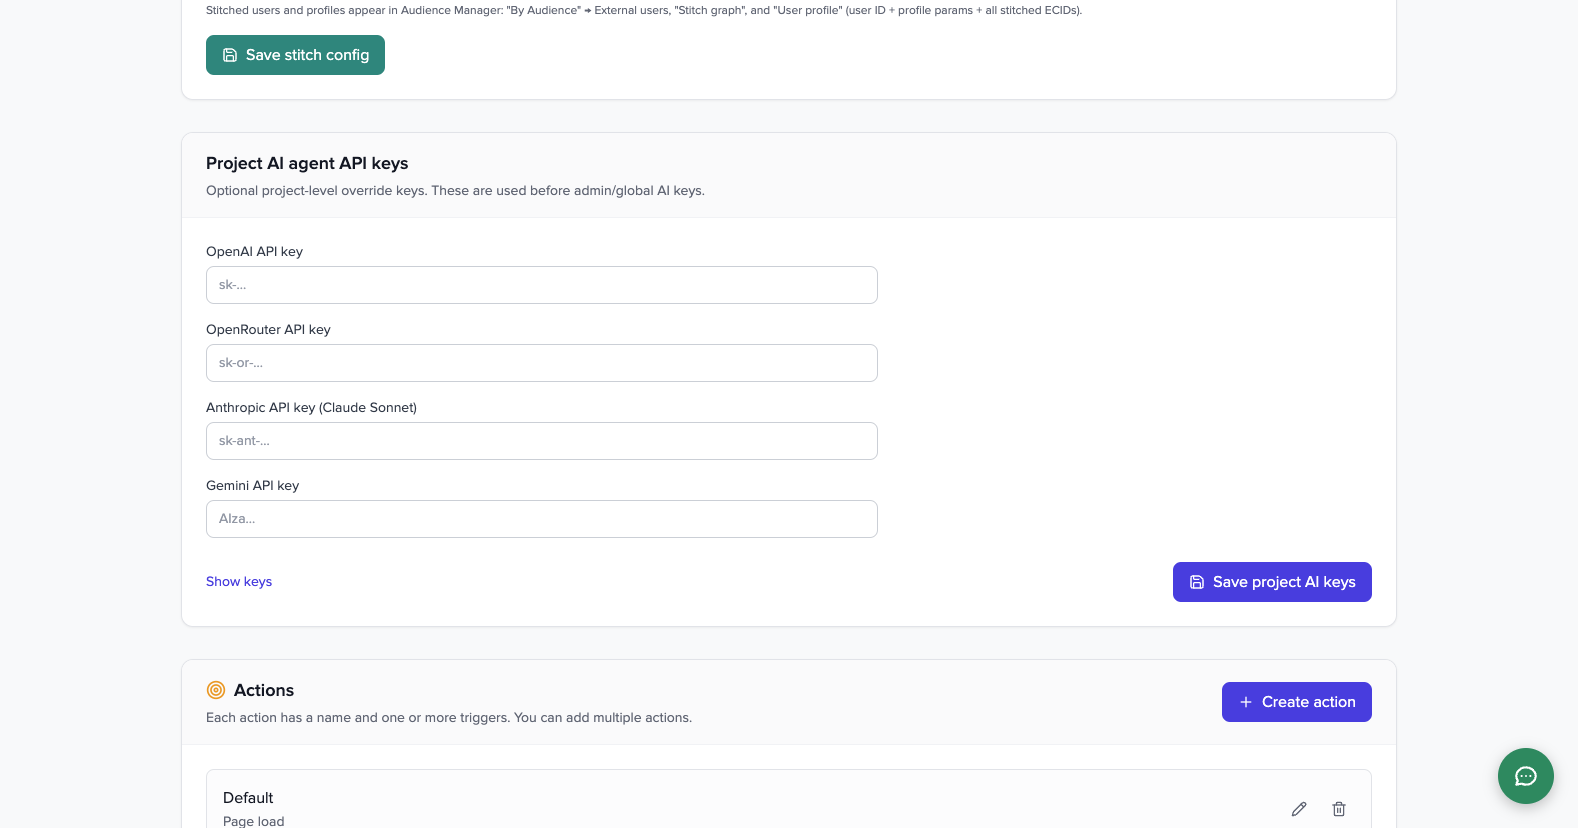
Step 8
Configure project-level AI provider keys and create/update actions for personalization triggers.
What is Actions? (Purpose + Usage)
Actions define when personalization should run on your website. Think of an action as a trigger rule set for your project.
- Page load: run personalization as soon as page loads.
- View change event: run on SPA route changes or custom frontend navigation events.
- Custom variable change: run when a global variable changes (for app-state driven pages).
- Custom code: run custom JavaScript for advanced control.
How to use Actions:
- Click
Create action. - Set a clear action name (for example:
Homepage Page Load). - Select one or more trigger types.
- Save the action, then test on your site to confirm personalization fires when expected.
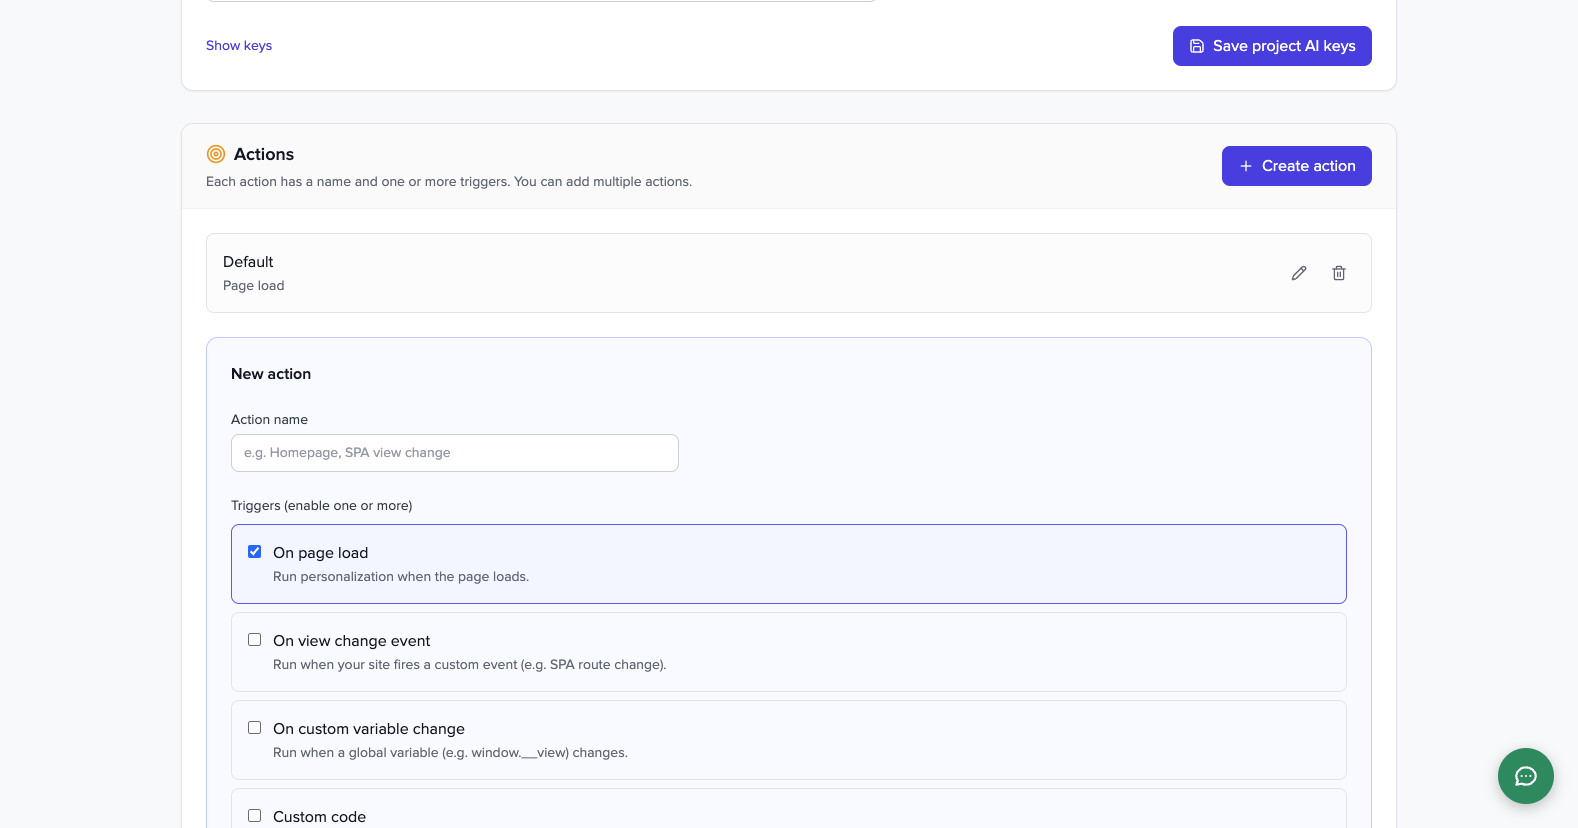
Step 9
Create a named action and enable relevant triggers based on your site behavior (classic pages vs SPA vs custom JS).
6) Project Members
- Open
Membersin the project area. - Add team members/recipients and assign proper role access.
- Confirm new users can access only allowed project resources.
7) Email Services Tutorial
- Open
Email Servicesfrom project dashboard. - Create/select template folder and template.
- Use AI tools to refine content.
- Enter editor and prepare campaign HTML.
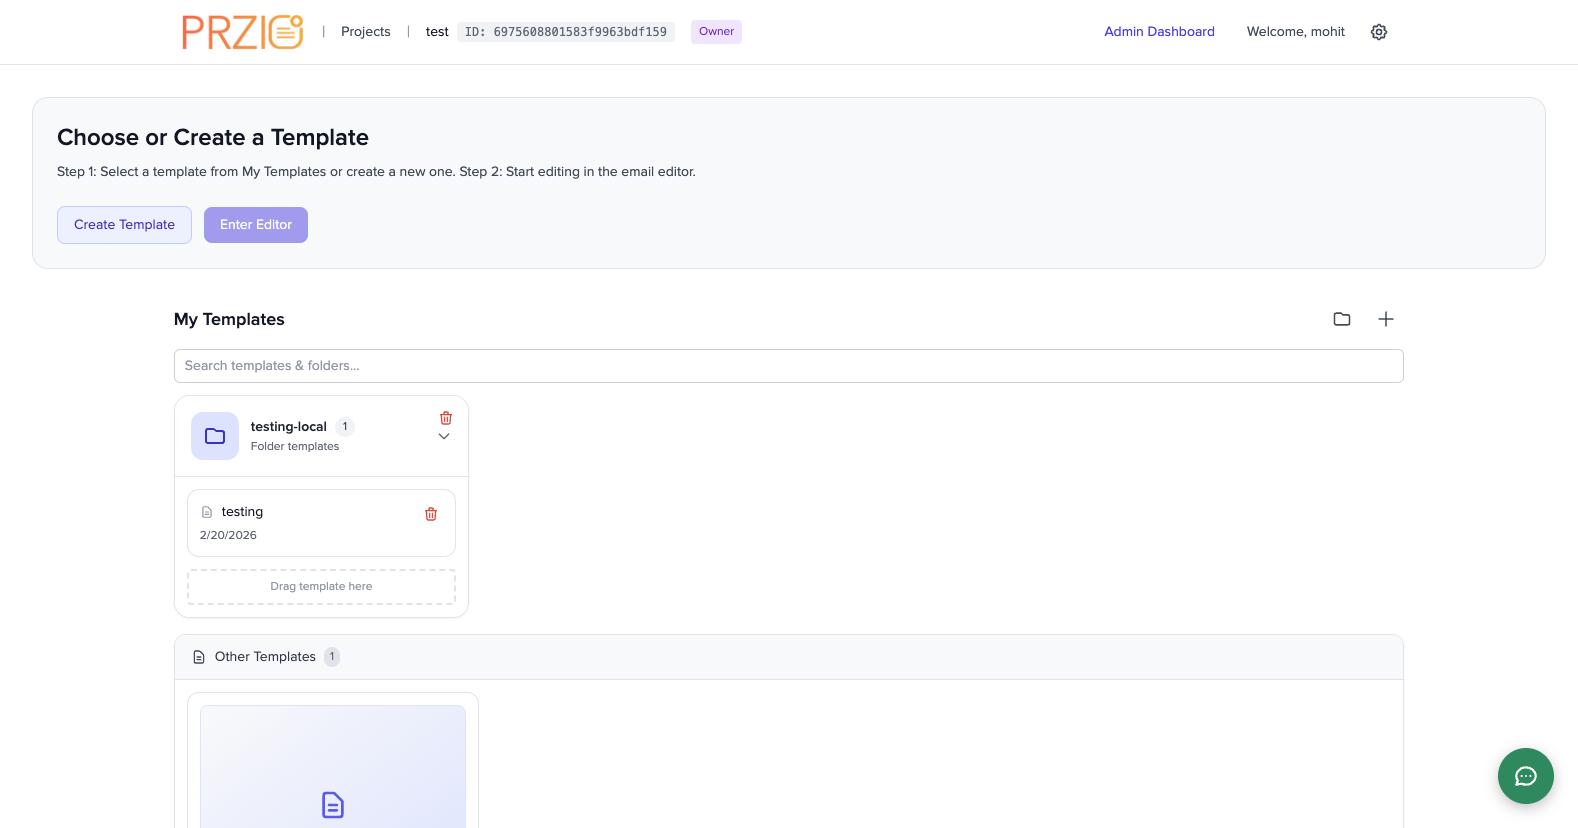
Title : Getting Started With Email Tool
Use the Email Services module to create templates, refine content with AI, and prepare/send campaigns from your project workspace. Start from your Projects dashboard and open the Email Services card for your selected project.
Reference link: https://przio.com/getting-started-with-email-tool/
8) Email History Tutorial
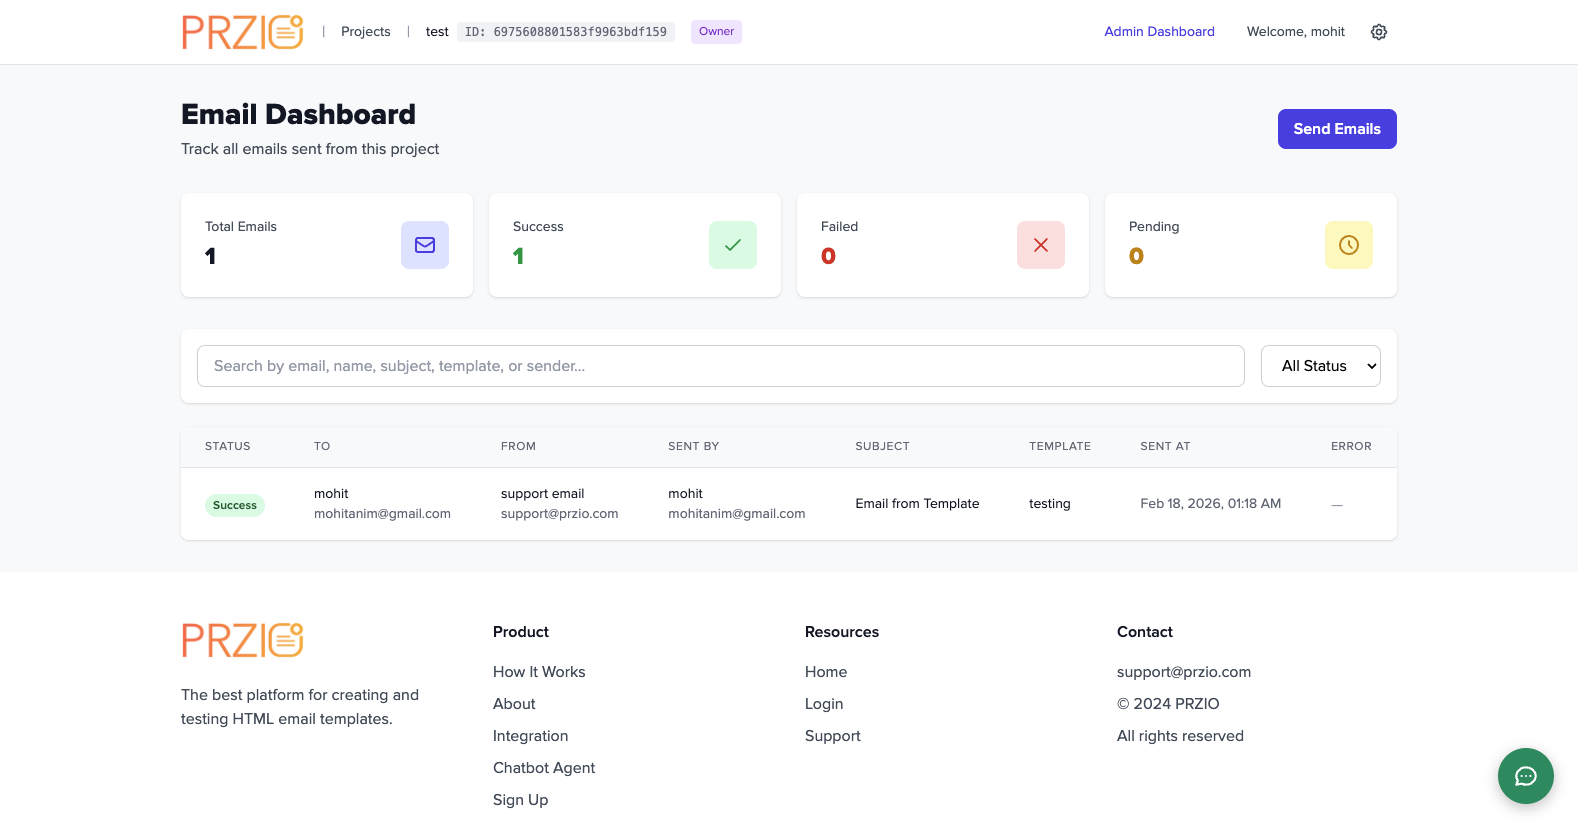
- Open
Email History. - Filter by status and inspect logs for failed sends.
- Use statistics cards to monitor delivery health.
9) Popup Builder Tutorial
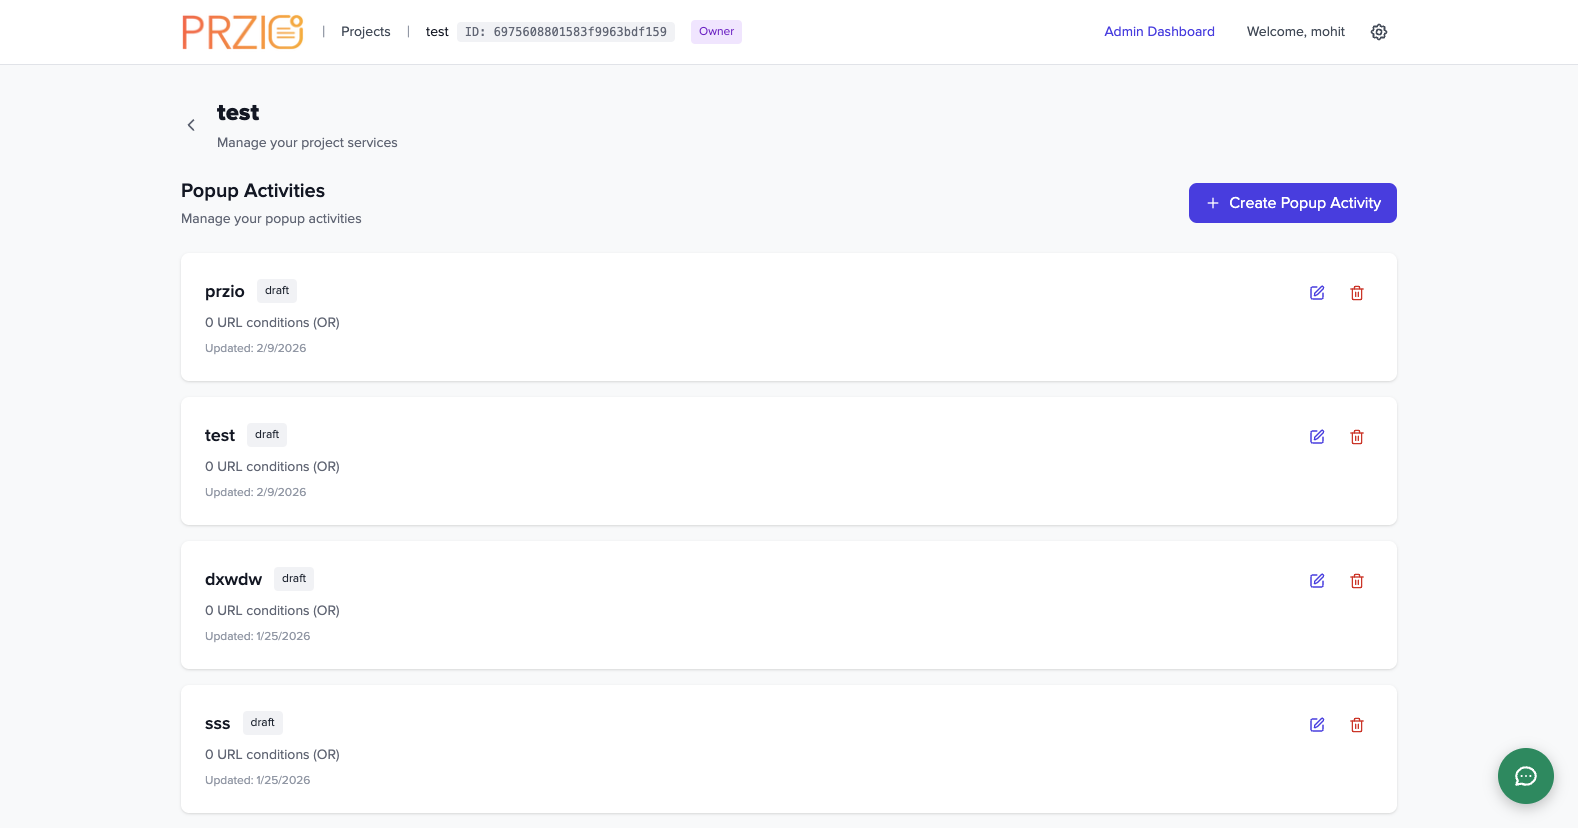
- Open
Popup Builder. - Create popup activity.
- Set trigger rules (page load/exit intent/scroll/timeout).
- Add URL conditions and publish.
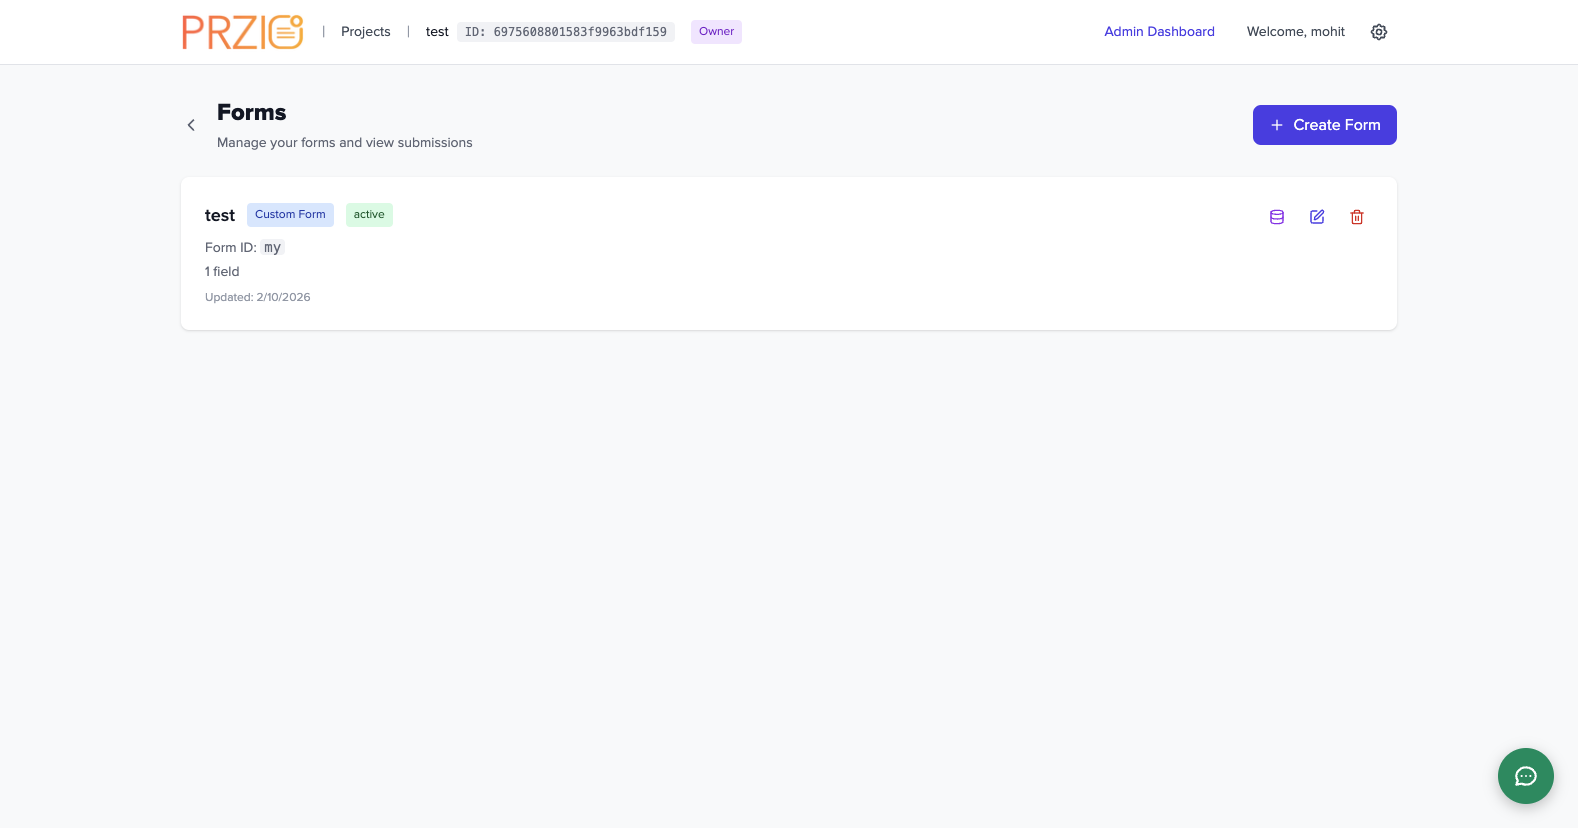
10) Form Builder Tutorial
- Open
Form Builder. - Create form and fields.
- Configure validation and optional multi-step flow.
- Embed form standalone or inside popup.
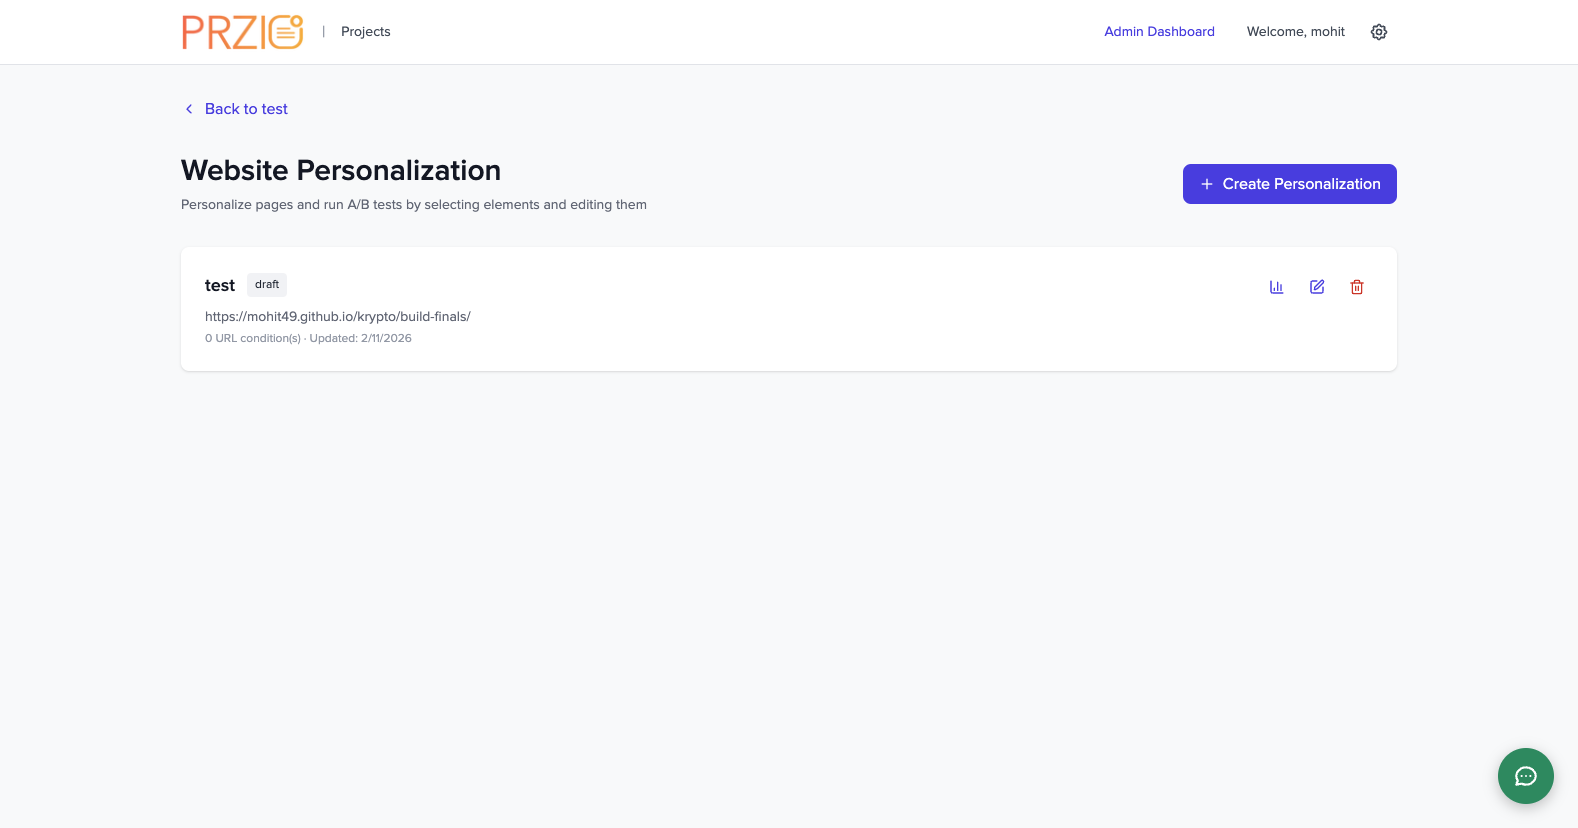
11) Website Personalization Tutorial
- Open
Website Personalization. - Create activity and target URL.
- Edit page content/styles and set URL conditions.
- Enable A/B test variants and publish.
12) Audience Manager Tutorial
- Open
Audience Manager. - Search by visitor UUID or external ID.
- Review stitched profiles and saved audiences.
PrzioSDK.setAudience(function (audience) {
audience.segment = "high-intent";
audience.bannerSeen = "true";
});

const current = PrzioSDK.getAudience();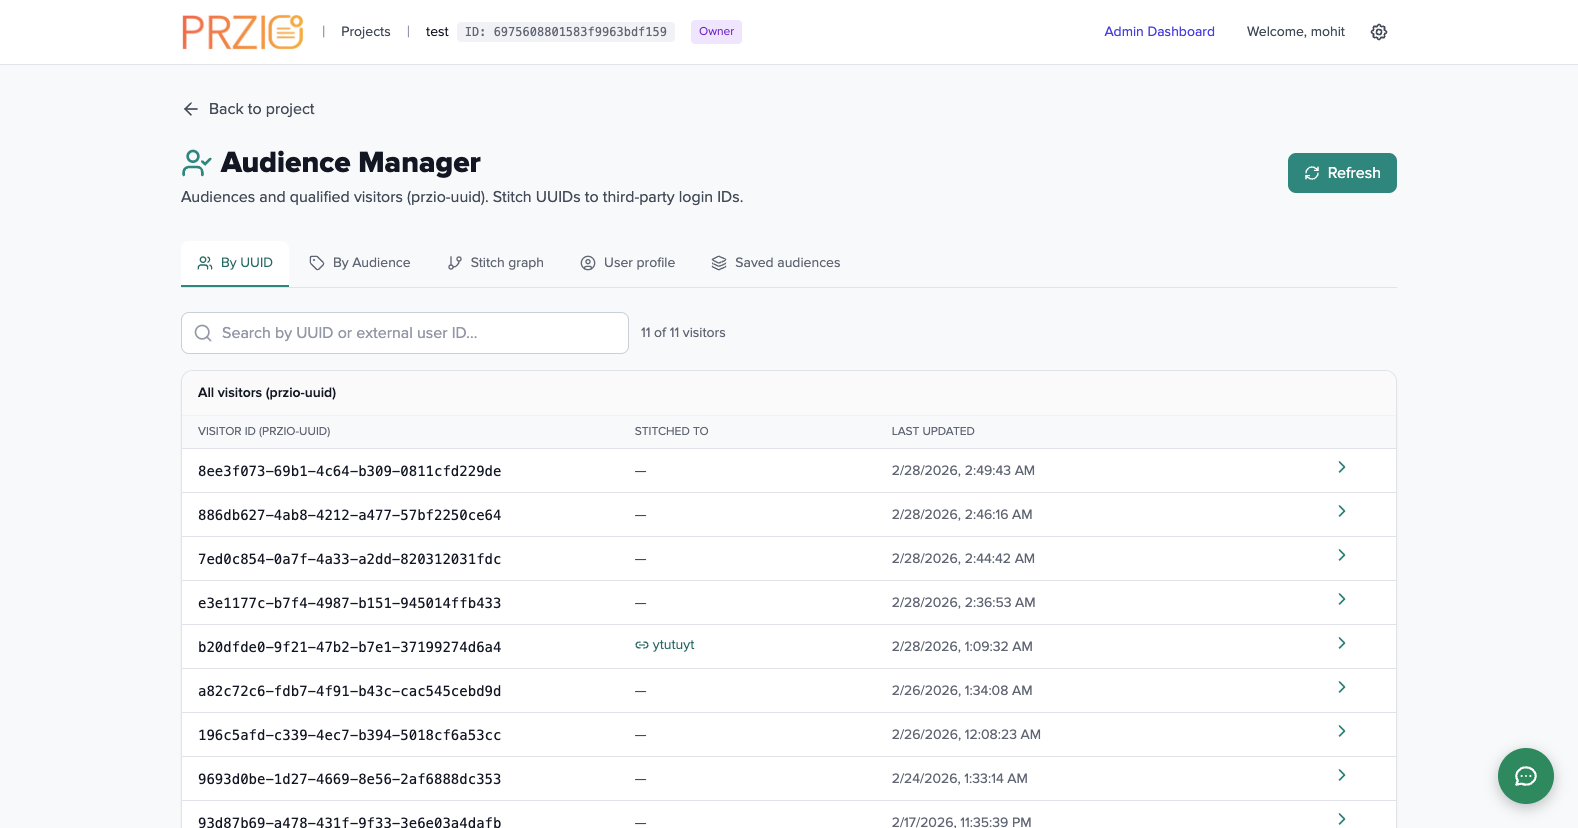
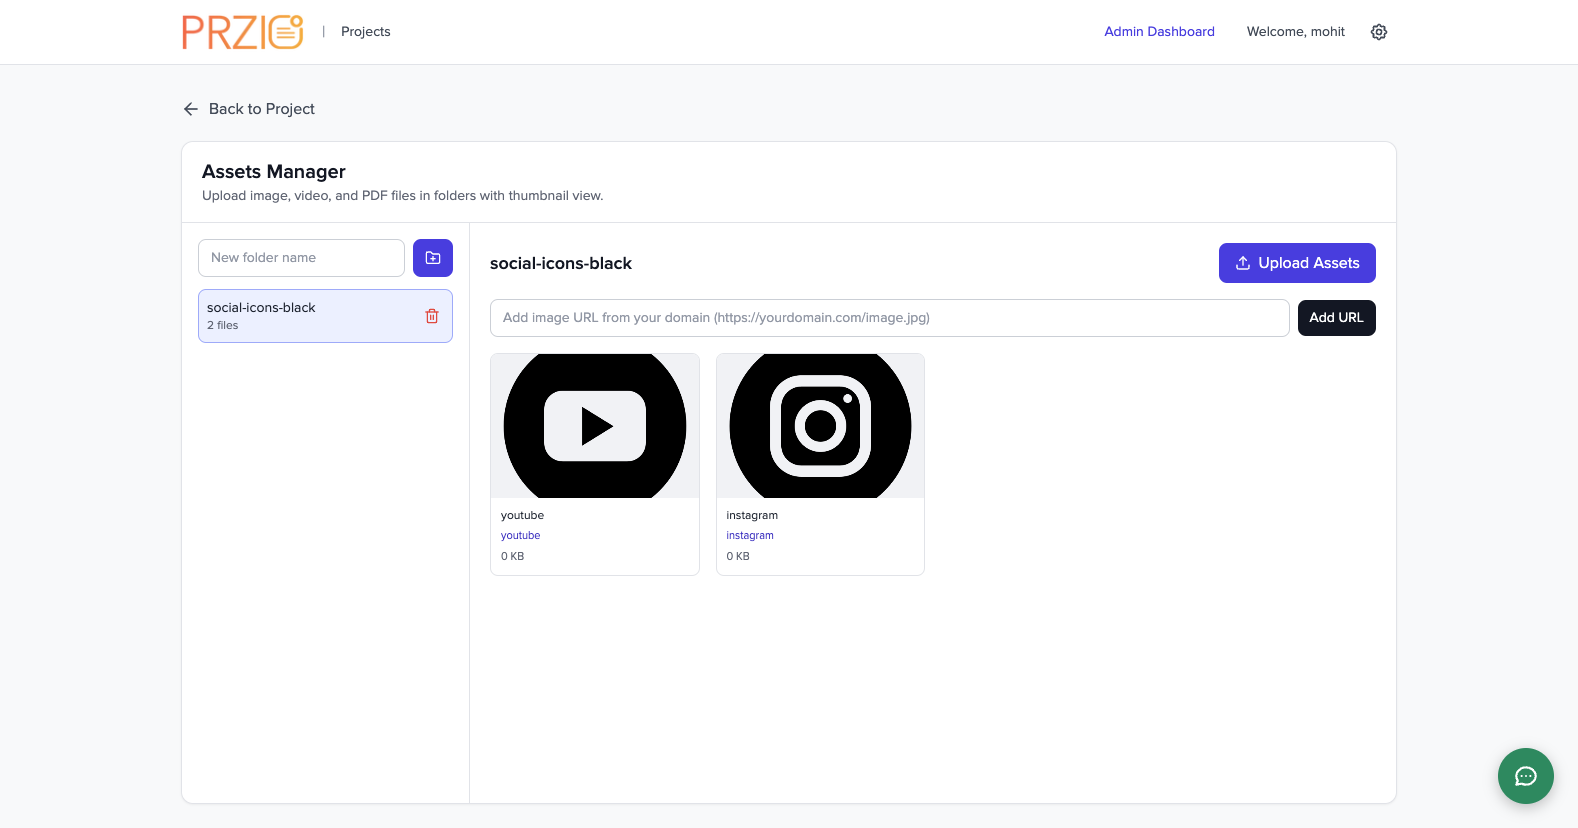
13) Assets Manager Tutorial
- Open
Assets Manager. - Create folders and upload images/videos/PDFs.
- Add asset URLs and metadata.
- Reuse assets in emails, popups, forms, and chatbot.
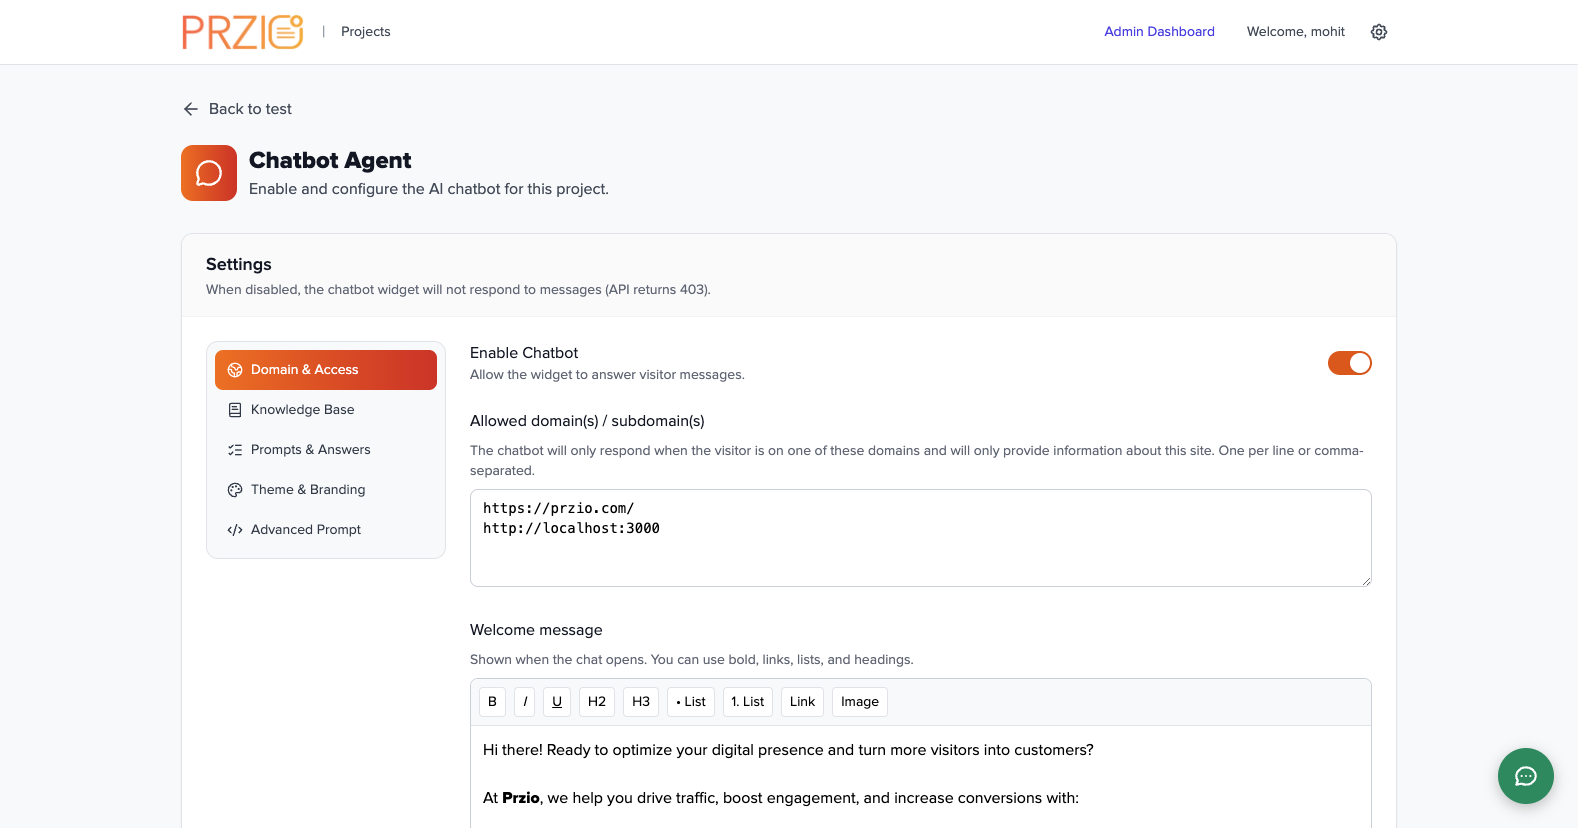
14) Chatbot Agent Tutorial
- Open
Chatbot Agentfrom the project dashboard. - Enable chatbot, set allowed domains, and configure welcome message.
- Set important URLs, prompt rules, and theme/branding options.
- Install widget script and test responses on your website.
15) Launch Checklist
- Project is created and members are assigned
- Project ID/API key are saved securely
- SDK script is installed on website pages
- SMTP is configured and tested
- Each enabled tool is tested with one real scenario
- Chatbot responses are domain-restricted and verified
16) Troubleshooting
Not seeing widget/features on website
- Verify correct
data-project-idin script tag. - Clear browser cache and hard refresh.
Email delivery issues
- Re-check SMTP credentials in Project settings.
- Use Email History error details to fix provider-side issues.
Chatbot behavior not matching settings
- Save settings and reload the target website page.
- Confirm allowed domains list includes your current domain.